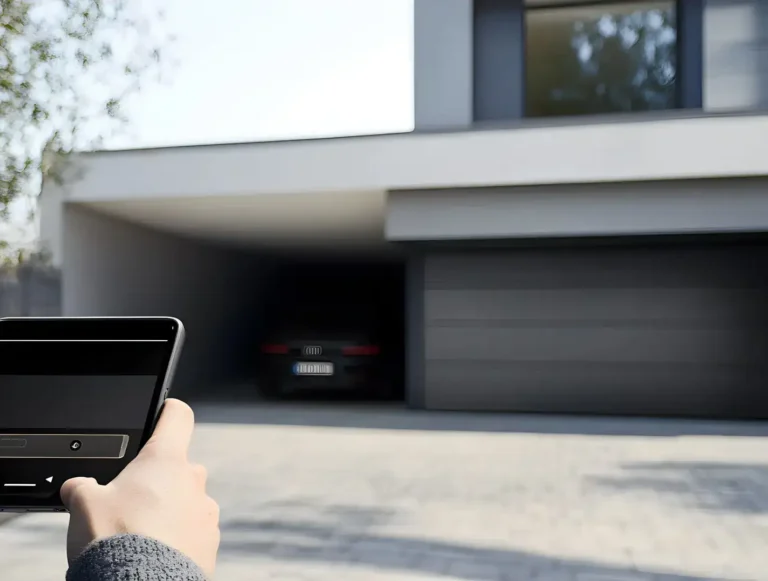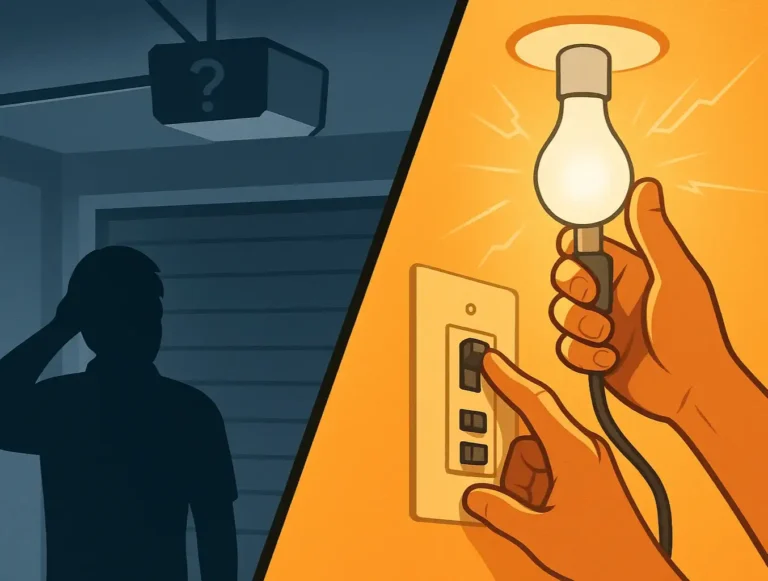
It’s common to ask, “How do you program a garage door remote?” — especially when using a new one for the first time. The good news is, it’s a simple process that only takes a few minutes. Let’s walk through the steps to get your remote and opener working together.
How to Program a Garage Door Remote: Quick Guide
Published: Jun 18, 2025 | Updated: Jul 28, 2026
How to Program a New Garage Door Remote
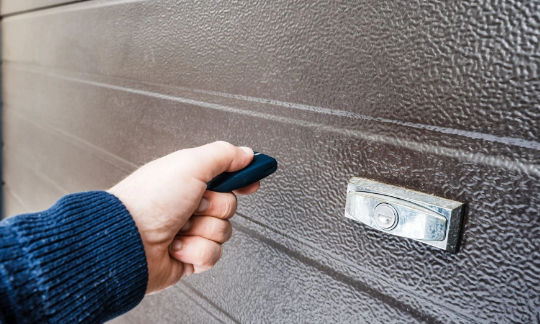
So, you got a shiny new remote and you’re asking yourself, “How do I program a garage door remote?” Whether you’re replacing a lost remote, setting up an extra one for another family member, or just upgrading your setup, the process is quick and easy. Most garage door openers follow a similar method, and you won’t need any tools to get started.
Match the Frequency
Before you begin, double-check that your new remote is compatible with your garage door opener model. Check the manual or packaging to make sure your remote works with your opener’s frequency.
Find the Learn Button
Find the small Learn button on the opener’s main unit. It may be under the light cover or on the back panel.
Activate Learning Mode
Press and immediately release the Learn button on your opener. A small LED light on the opener unit should light up, signaling that it’s ready to receive a remote signal for about 30 seconds.
Sync the Remote
Within about 30 seconds, press and hold the remote’s main button. Release it once the opener’s light blinks or you hear a confirmation click.
If it doesn’t work the first time, try again. Some remotes take more than one attempt to sync.
Test the Remote
Stand a short distance away and press the remote. Make sure the door responds by opening and closing properly.
How to Program Overhead Garage Door Remote
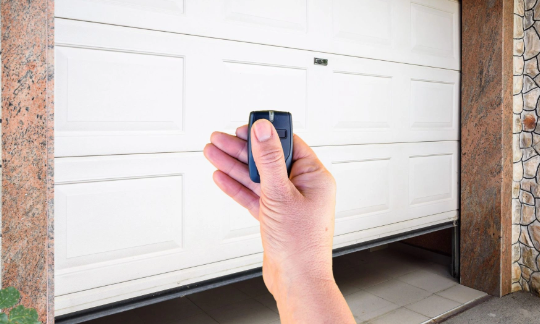
Overhead-mounted garage door openers are very common in many homes. These classic units can still be tricky to set up, and you might be wondering, “How do I program my garage door remote to work with it?” While the general principles are very similar, here’s what to look for:
Where to Find the Learn Button on Overhead Openers
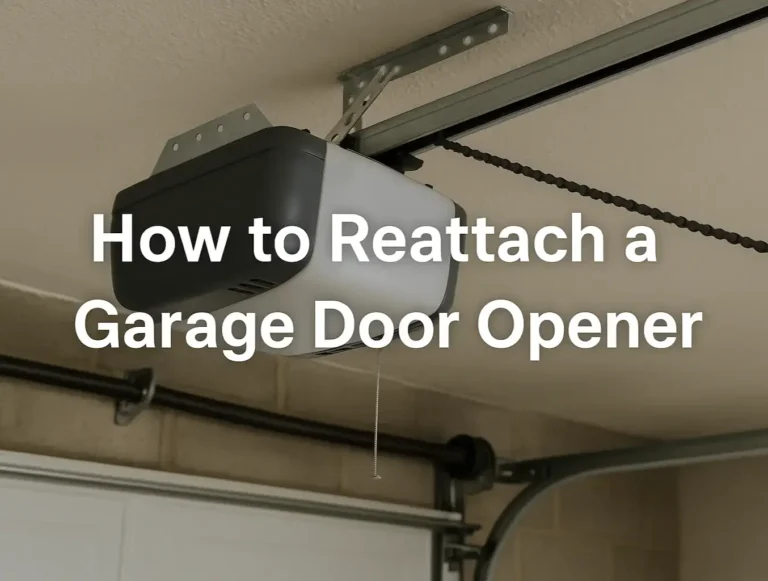
Since the opener is mounted high on the ceiling, it might take a sturdy ladder to reach the Learn button. For overhead units, it’s usually on the main motor housing. Look under the light lens or near where the antenna wire hangs down. It’s typically a small, colored button (yellow, red/orange, purple, or green are common).
How to Sync the Remote
Older overhead openers, especially those made before 2010, may require you to press the remote button more than once before it responds. If your unit is newer, pressing and holding the remote button for 3–5 seconds should complete the pairing.
How to Erase Overhead Door Opener Memory
If you’ve reached the limit of paired devices (typically 3 to 7 remotes or keypads), you’ll need to clear the opener’s memory before adding a new one. To reset it:
How to Program Garage Door Openers
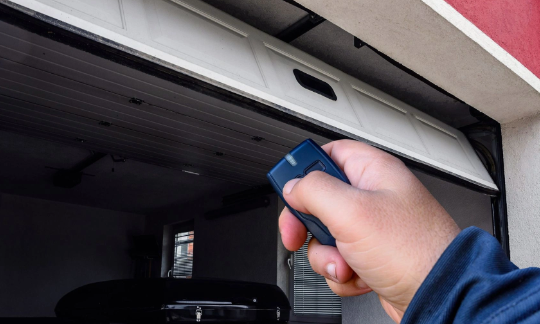
After a reset or battery swap, many homeowners ask, “How do you program garage door openers?” It’s quite similar to syncing a brand-new remote.
Start by locating the Learn button on the garage door opener motor, typically mounted to the ceiling. Press and release the button once. You’ll usually see a blinking LED light, which means the system is ready to pair with your remote.
Within about 30 seconds, press the main button on your garage door remote. Some models might require a second press to lock in the signal. When you hear a click or see the light flash, the programming is complete.
Keep in mind that timing may vary by brand, so it’s worth checking your opener’s manual.
Start by locating the Learn button on the garage door opener motor, typically mounted to the ceiling. Press and release the button once. You’ll usually see a blinking LED light, which means the system is ready to pair with your remote.
Within about 30 seconds, press the main button on your garage door remote. Some models might require a second press to lock in the signal. When you hear a click or see the light flash, the programming is complete.
Keep in mind that timing may vary by brand, so it’s worth checking your opener’s manual.
Summing Up
Figuring out how to program a garage door remote can seem confusing at first. It’s really just a matter of finding the right button, activating learning mode, and syncing. If you’re reprogramming a remote you’ve already used, you’ll need to know how to program garage door openers too. To make things even easier, keep fresh batteries nearby, label your remotes, and always check for compatibility.
If you’re still wondering, “How to program my garage door remote?” 24H Garage Door Services is here to lend a hand. Whether it’s troubleshooting, repairs, or system upgrades, we’re ready to get your garage running smoothly again.
If you’re still wondering, “How to program my garage door remote?” 24H Garage Door Services is here to lend a hand. Whether it’s troubleshooting, repairs, or system upgrades, we’re ready to get your garage running smoothly again.
Frequently Asked Questions
Do I need to check anything about compatibility before programming a new remote?
Yes, before you begin you should double-check that your new remote is compatible with your garage door opener model. Check the manual or packaging to make sure your remote works with your opener's frequency. Matching the frequency first helps avoid problems during setup.
Where do I find the Learn button on my opener?
The small Learn button is on the opener's main unit, often under the light cover or on the back panel. On overhead units mounted high on the ceiling, it's usually on the main motor housing, under the light lens or near where the antenna wire hangs down. It's typically a small, colored button, with yellow, red or orange, purple, and green being common.
What are the steps to actually sync the remote to the opener?
Press and immediately release the Learn button on the opener, and a small LED should light up signaling it's ready to receive a signal for about 30 seconds. Within that window, press and hold the remote's main button, then release it once the opener's light blinks or you hear a confirmation click. If it doesn't work the first time, try again, since some remotes take more than one attempt to sync.
What should I do if the opener already has too many remotes paired to it?
Openers typically hold a limit of about 3 to 7 remotes or keypads, and once you reach it you'll need to clear the memory before adding a new one. To reset it, press and hold the Learn button for about 10 seconds until the indicator light turns off, confirming all previously programmed remotes have been erased. You can then reprogram your remote as if it were new.