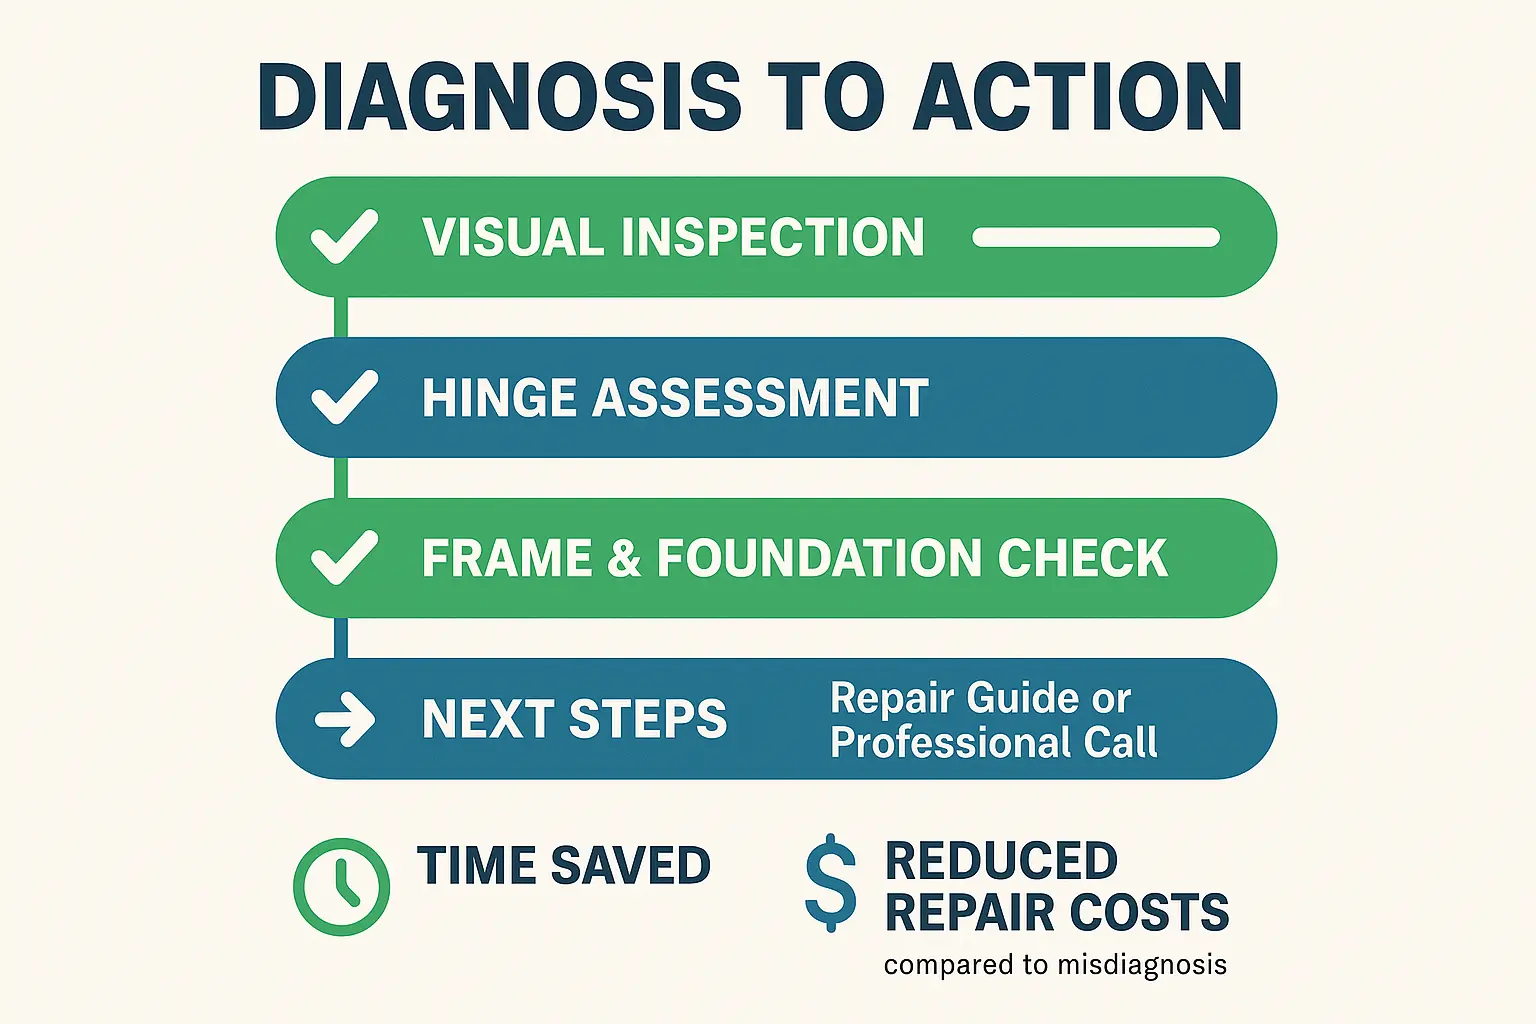
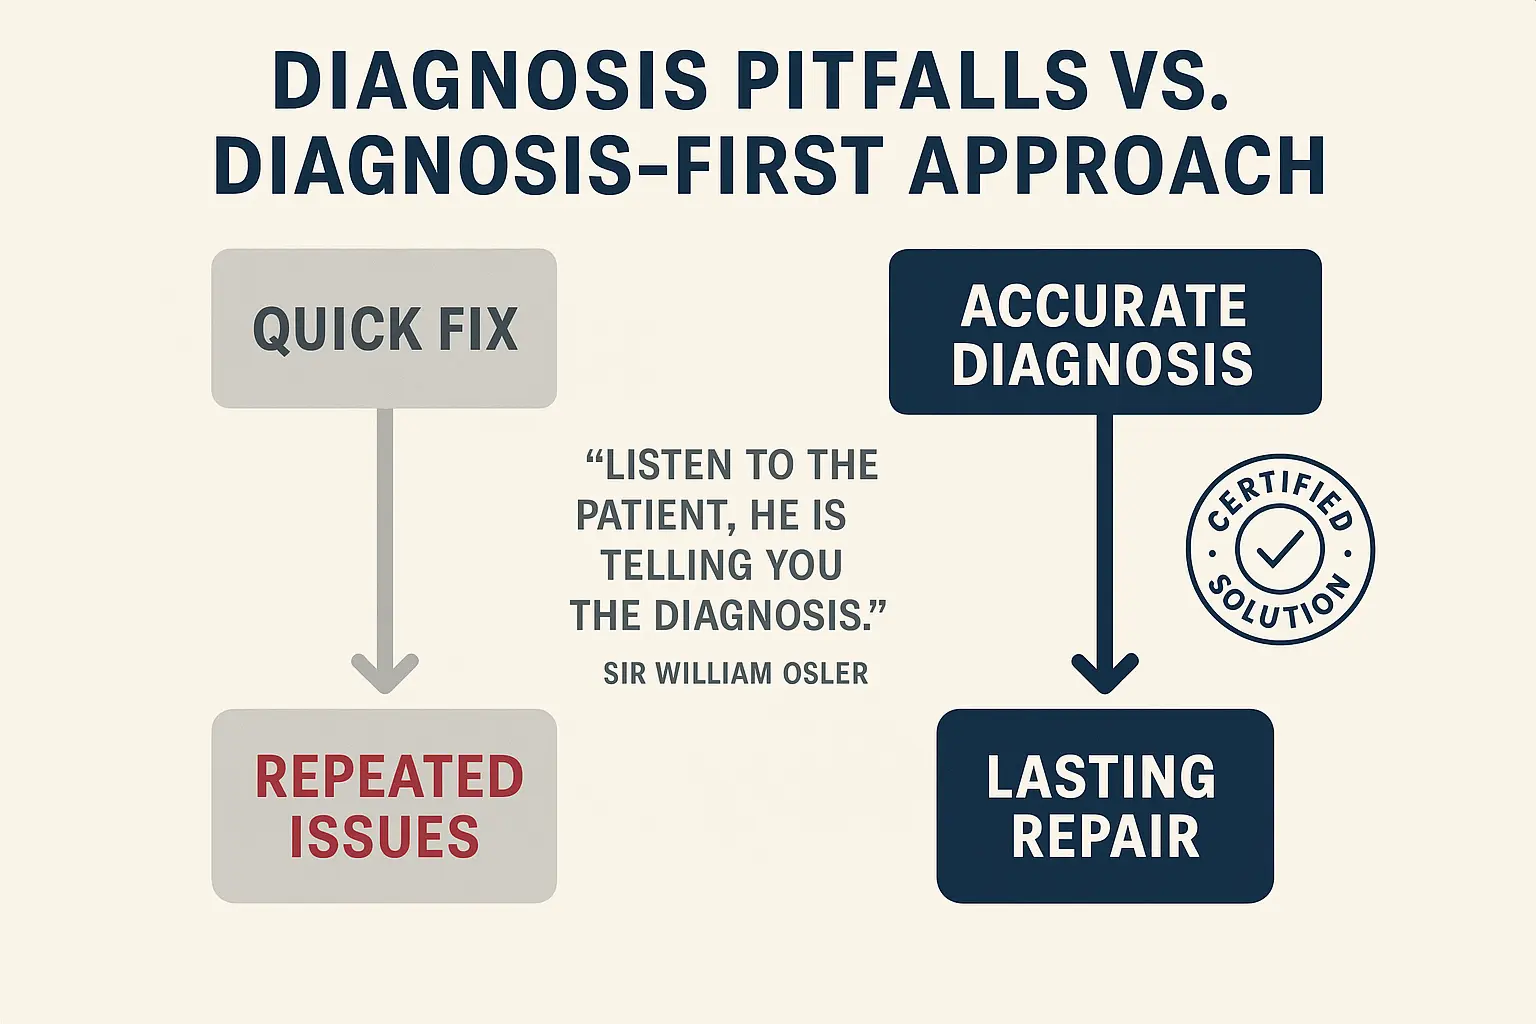
Grab a cup of coffee and let’s walk through this together. We’re going to systematically investigate the scene of the crime, moving from the most obvious clues to the more subtle ones.
Step 1: Read the Gaps—A Visual Inspection
The easiest and most revealing first step is to simply close the door and look at it. The gaps between the door and the frame are telling a story.
• Where is the gap widest?
• Where is the door rubbing against the frame?
• Is the top of the door parallel with the header?
Most sagging doors follow a predictable pattern: the top corner on the handle side will droop, causing it to rub against the frame, while a corresponding wedge-shaped gap appears near the top hinge.
This initial look gives you a powerful clue. If the door rubs at the top, the problem is almost always related to the top hinge. If it drags on the floor, the bottom hinge might be the issue.
Step 2: The Hinge Check—The Usual Suspect
About 80% of the time, the root cause of a sagging door lies with the hinges—specifically the top one. It bears the most weight and stress.
1. Check for Loose Screws: Open the door and examine the hinges. Are any of the screws loose? Try to tighten them with a screwdriver. If a screw just spins without tightening, the wood underneath is stripped. This is a classic sign of fatigue.
2. Check for Hinge Play: With the door slightly ajar, gently lift up on the handle. Do you feel any “slop” or movement at the hinges? This can indicate that the hinge pins are worn out.
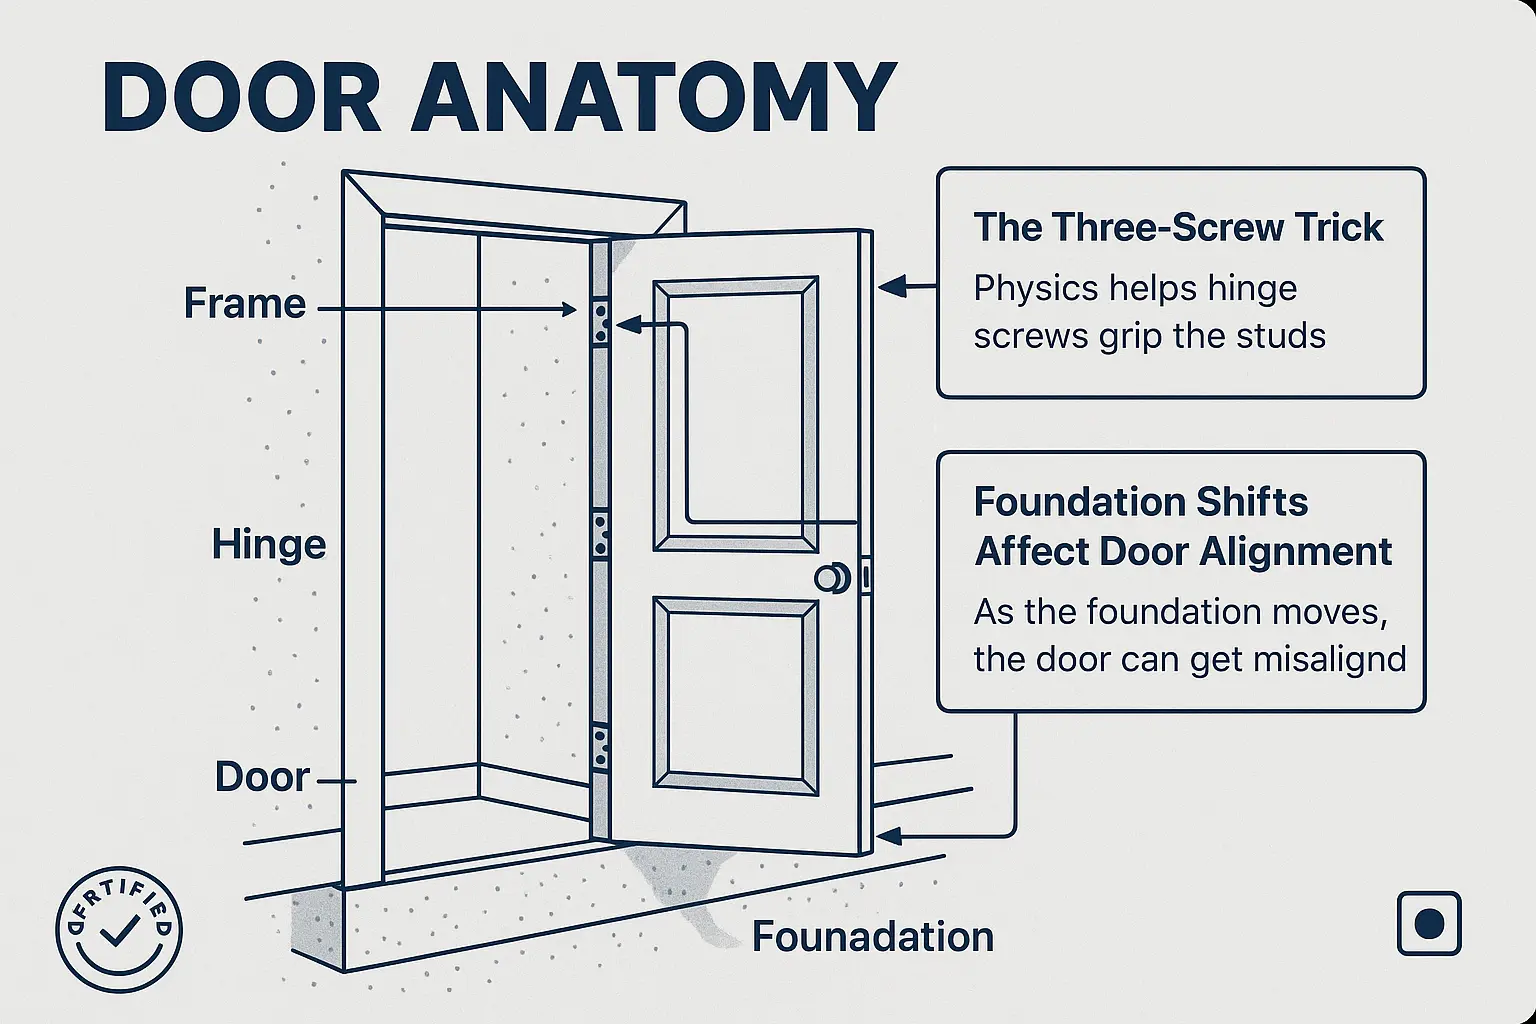
3. The Pro-Tip “Three-Screw Trick”: Many guides will tell you to simply tighten the screws. But if the wood is stripped, that won’t help. The “aha moment” is understanding why the fix works. The short screws that come with most hinges only grip the thin wood of the door jamb. The real strength is in the thick stud behind the jamb. By replacing one of the screws in the top hinge (the one closest to the center of the door) with a 3-inch screw, you can bite directly into that solid stud, pulling the entire door back into alignment. It’s a simple, brilliant fix for the most common issue.
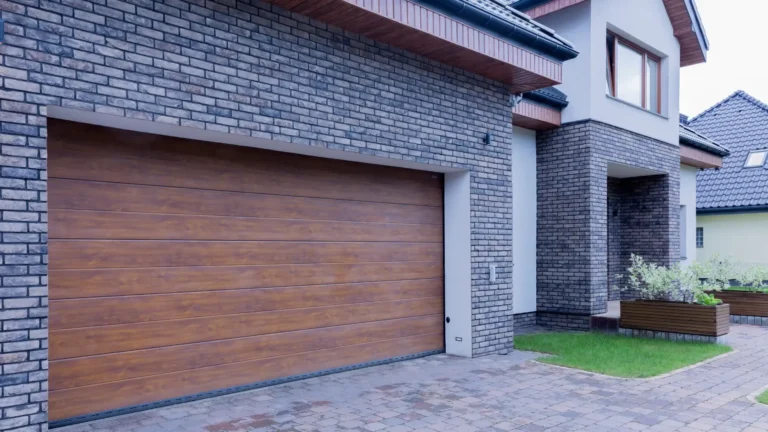
Hinges are fundamental to any door’s operation. While the scale is different, the principles of proper garage door hinge repair often involve similar diagnostic steps to identify wear and tear before a major failure occurs.
Step 3: The Frame & Jamb Assessment
If the hinges are solid but the door still sags, it’s time to question the frame itself. Grab a 4-foot level and check if the frame is square.
• Check the Hinge Jamb: Place the level vertically against the side of the frame where the hinges are. Is it perfectly plumb (straight up and down)?
• Check the Header: Place the level horizontally against the top of the frame. Is it perfectly level?
• Check the Latch Jamb: Do the same for the other side.
If any of these are off, it means the door frame itself is out of square. This can happen over time as a house settles, or it could be the result of a poor initial installation.
Step 4: Beyond the Door—Spotting Deeper Issues
Occasionally, a sagging door is a canary in a coal mine, signaling a much larger issue like a shifting foundation. Before you panic, look for other corroborating evidence. A single sagging door is probably not a foundation problem, but if you see these other signs, it’s worth a closer look: