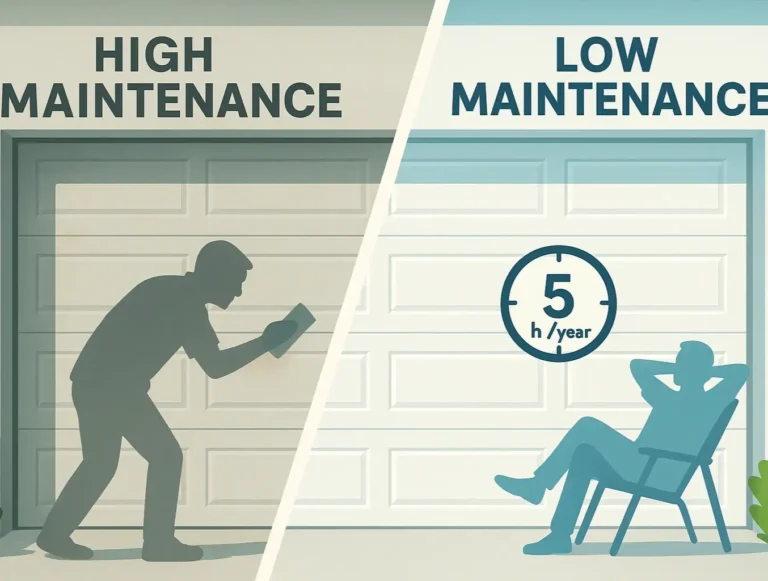
A smooth-operating garage door often comes down to proper track alignment. Whether you’re setting up a new door or replacing old parts, knowing how to install a garage door track correctly is key. This 24H Garage Doors guide is here to walk you through the process, making sure your garage door moves just right, every time. Get ready to learn the steps for a reliable setup.
How to Install a Garage Door Track with Proper Alignment
Published: Nov 17, 2025 | Updated: Jul 28, 2026
Understanding the Basics of Garage Door Track Installation
Garage door tracks are the metal pathways that guide your garage door as it opens and closes. They are very important because they keep the door stable and moving smoothly. There are a few main types:
Getting the alignment right is probably the most important part when learning how to install garage door rails. If the tracks aren’t perfectly parallel and level, your door could get stuck, make loud noises, or even come off its hinges. A well-aligned track system means less wear and tear on your door and opener, saving you headaches and repair costs. It’s all about precision for long-lasting performance.
Tools and Parts You’ll Need
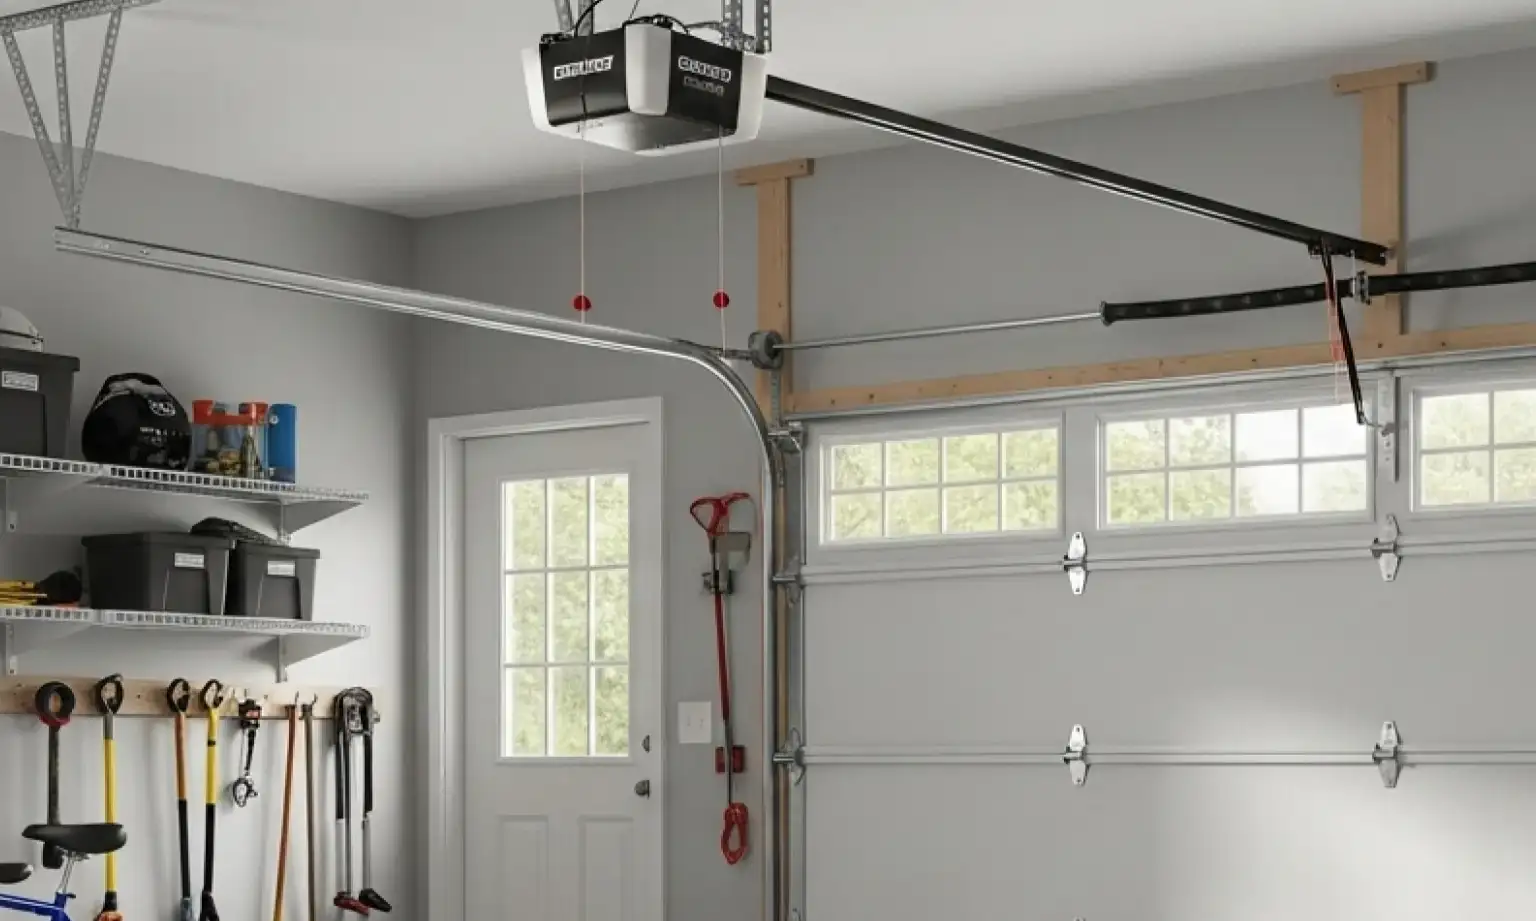
Before you start, gather everything you’ll need for a smooth project. If you’re learning how to install garage door tracks, here’s what to have ready:
Tools:
Tools:
Safety Gear:
Parts:
Step-by-Step: How to Install Garage Door Tracks Correctly
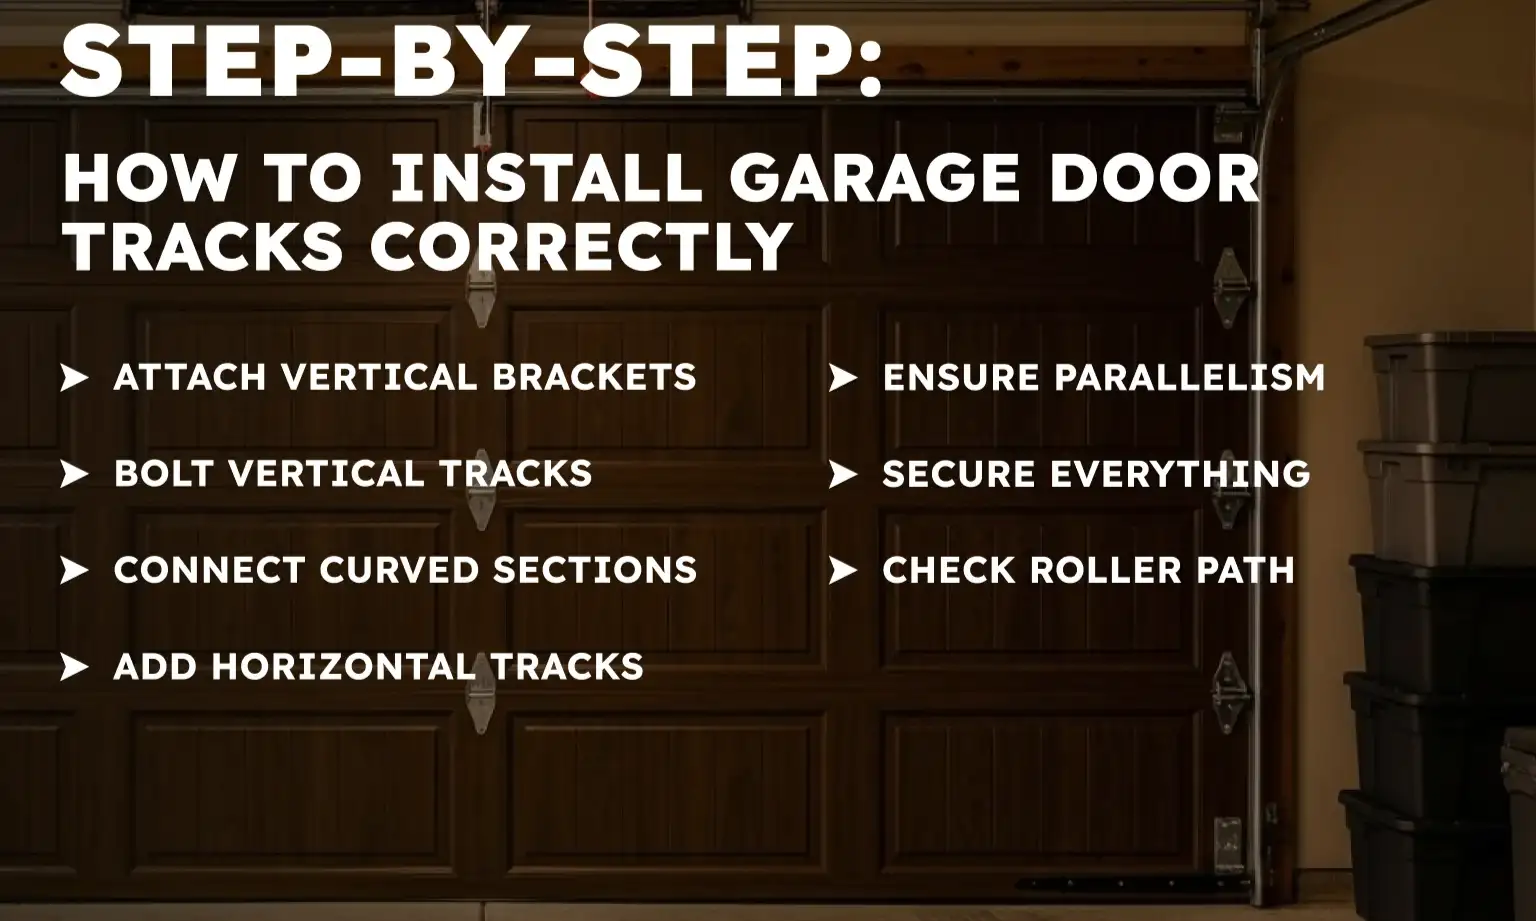
Installing garage door tracks might seem like a big job but breaking it down makes it manageable. Here are the steps:
Track Maintenance Tips to Prevent Future Issues
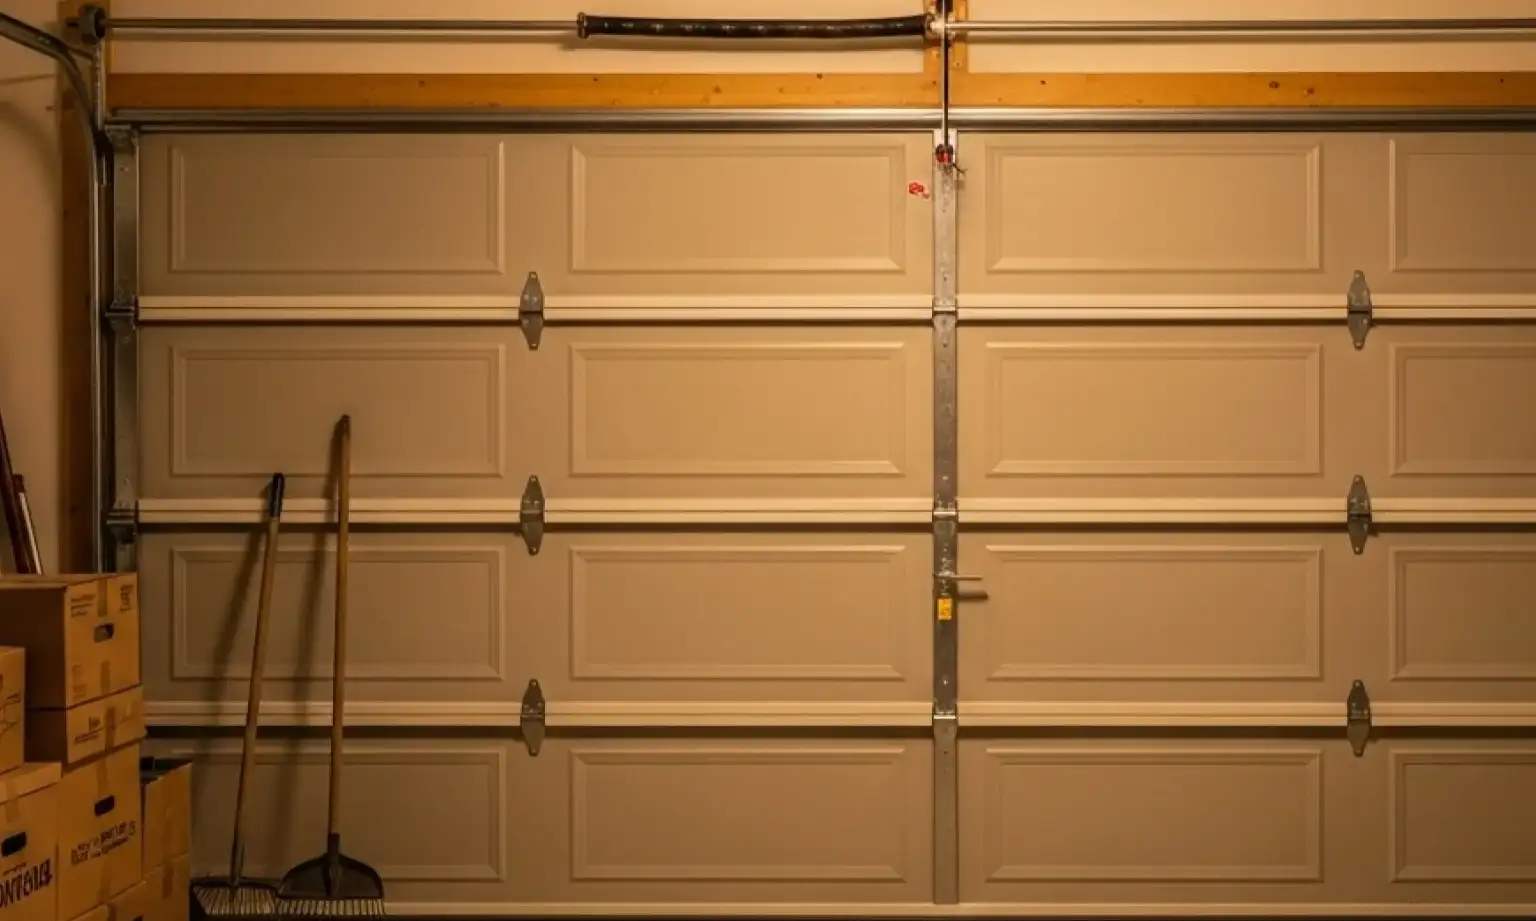
Once your garage door tracks are installed, a little regular care goes a long way in keeping them in top shape. Dirt and debris can build up in the tracks, causing friction and making your door work harder. So, periodically wipe down the inside of the tracks with a damp cloth to remove any grime.
After installation, regular upkeep like cleaning and proper lubrication of garage door tracks helps reduce friction and extend track life. Use a silicone-based lubricant (never grease or oil, as they can attract dirt) on the moving parts, like the rollers and hinges, but not directly on the tracks themselves. This simple step can prevent many common issues and keep your garage door operating quietly and efficiently for years.
After installation, regular upkeep like cleaning and proper lubrication of garage door tracks helps reduce friction and extend track life. Use a silicone-based lubricant (never grease or oil, as they can attract dirt) on the moving parts, like the rollers and hinges, but not directly on the tracks themselves. This simple step can prevent many common issues and keep your garage door operating quietly and efficiently for years.
Don’t Want to DIY? Let 24H Garage Doors Handle the Hard Work
Even with a clear guide, installing garage door tracks can be a tricky task, especially if you’re not used to working with tools or dealing with heavy components. Proper alignment is essential for the safe and efficient operation of your garage door. If you’re feeling unsure or simply prefer to leave it to the pros, that’s perfectly fine!
24H Garage Doors offers fast, professional garage door part installation — including track alignment and reliable repairs. Our team has the tools and experience to handle any garage door project — big or small. Don’t hesitate to reach out for reliable service you can trust.
24H Garage Doors offers fast, professional garage door part installation — including track alignment and reliable repairs. Our team has the tools and experience to handle any garage door project — big or small. Don’t hesitate to reach out for reliable service you can trust.
Frequently Asked Questions
What do garage door tracks do and why does alignment matter so much?
Garage door tracks are the metal pathways that guide your door as it opens and closes, keeping it stable and moving smoothly. Getting the alignment right is the most important part of installation, because if the tracks aren't perfectly parallel and level, your door could get stuck, make loud noises, or even come off its hinges. A well-aligned track system also means less wear and tear on your door and opener.
What are the different types of tracks on a garage door?
There are three main sections. Vertical tracks run up and down the sides of the door opening, horizontal tracks extend back into the garage, and curved tracks connect the vertical and horizontal sections.
What tools and parts should I gather before starting?
For tools you'll want a tape measure, a level (a long one is best), a drill, wrenches, a socket set, and a sturdy stepladder. For safety gear, have safety glasses and work gloves ready. Parts include the vertical, horizontal, and curved track sections plus the brackets, bolts, and lag screws that hold the tracks to the wall.
What is the correct order for installing the track sections?
Start by attaching the vertical track brackets to the door frame, using your level often to check that everything is plumb and at the correct height, then bolt the vertical tracks to those brackets. Next, connect the curved sections, followed by the horizontal tracks that extend back toward the garage ceiling. Precision is key, so use your tape measure to make sure the horizontal tracks stay parallel and at the same height.