With your diagnosis and retainer type in hand, you’re ready to tackle the problem.
Fixing Gaps: More Than Just a Seal Problem
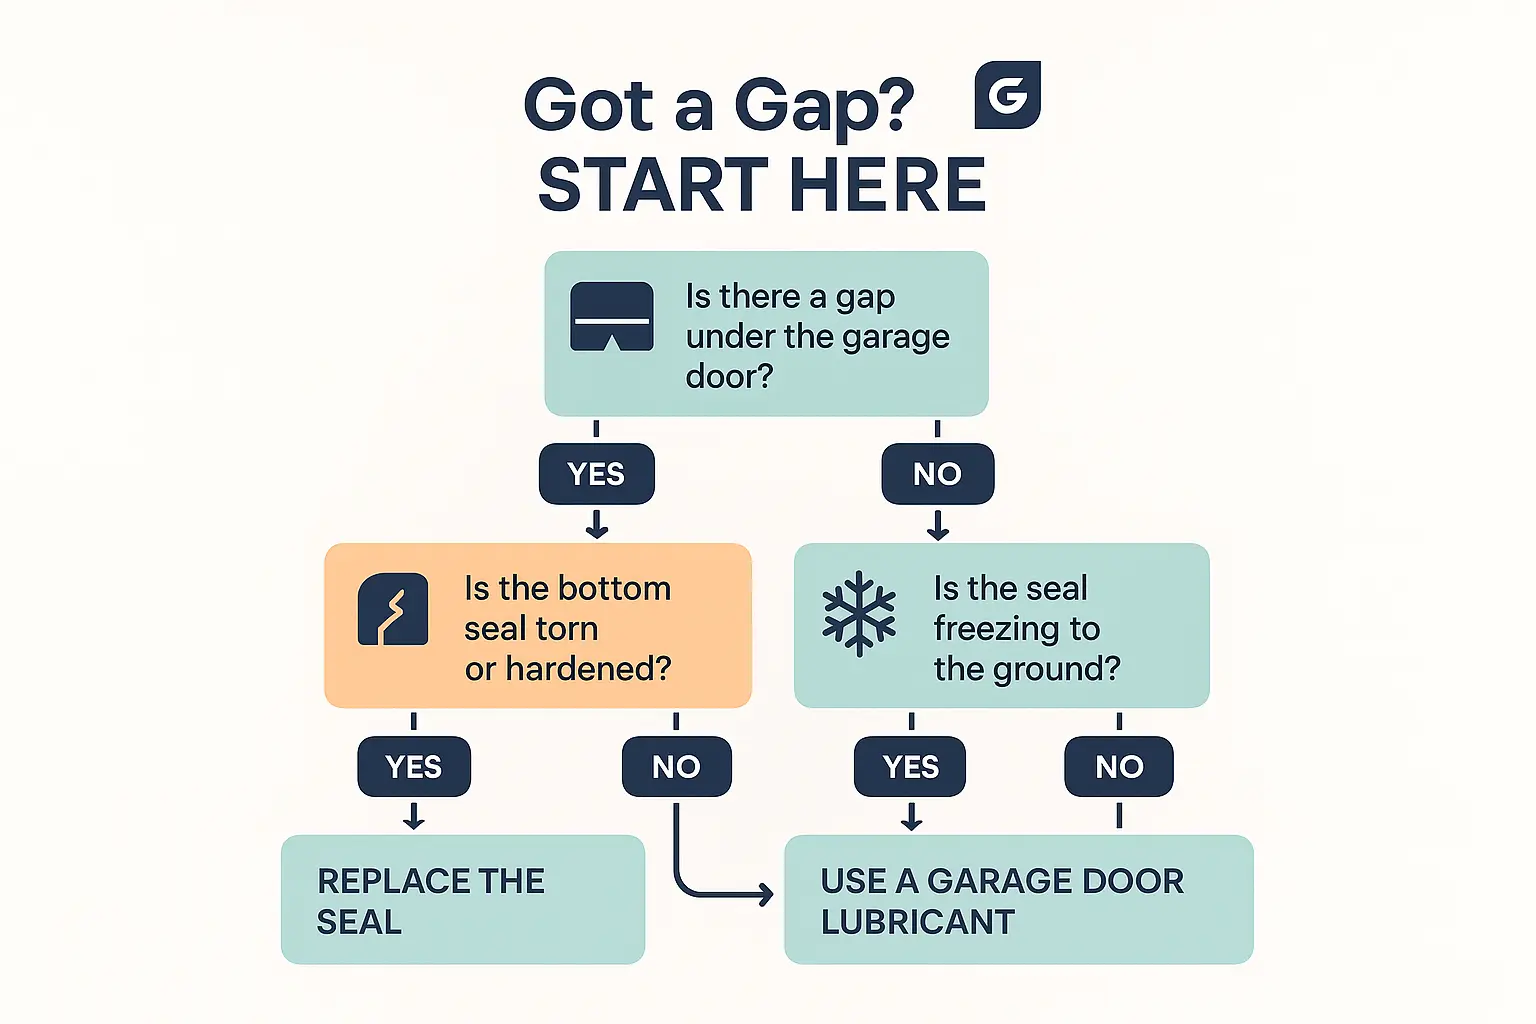
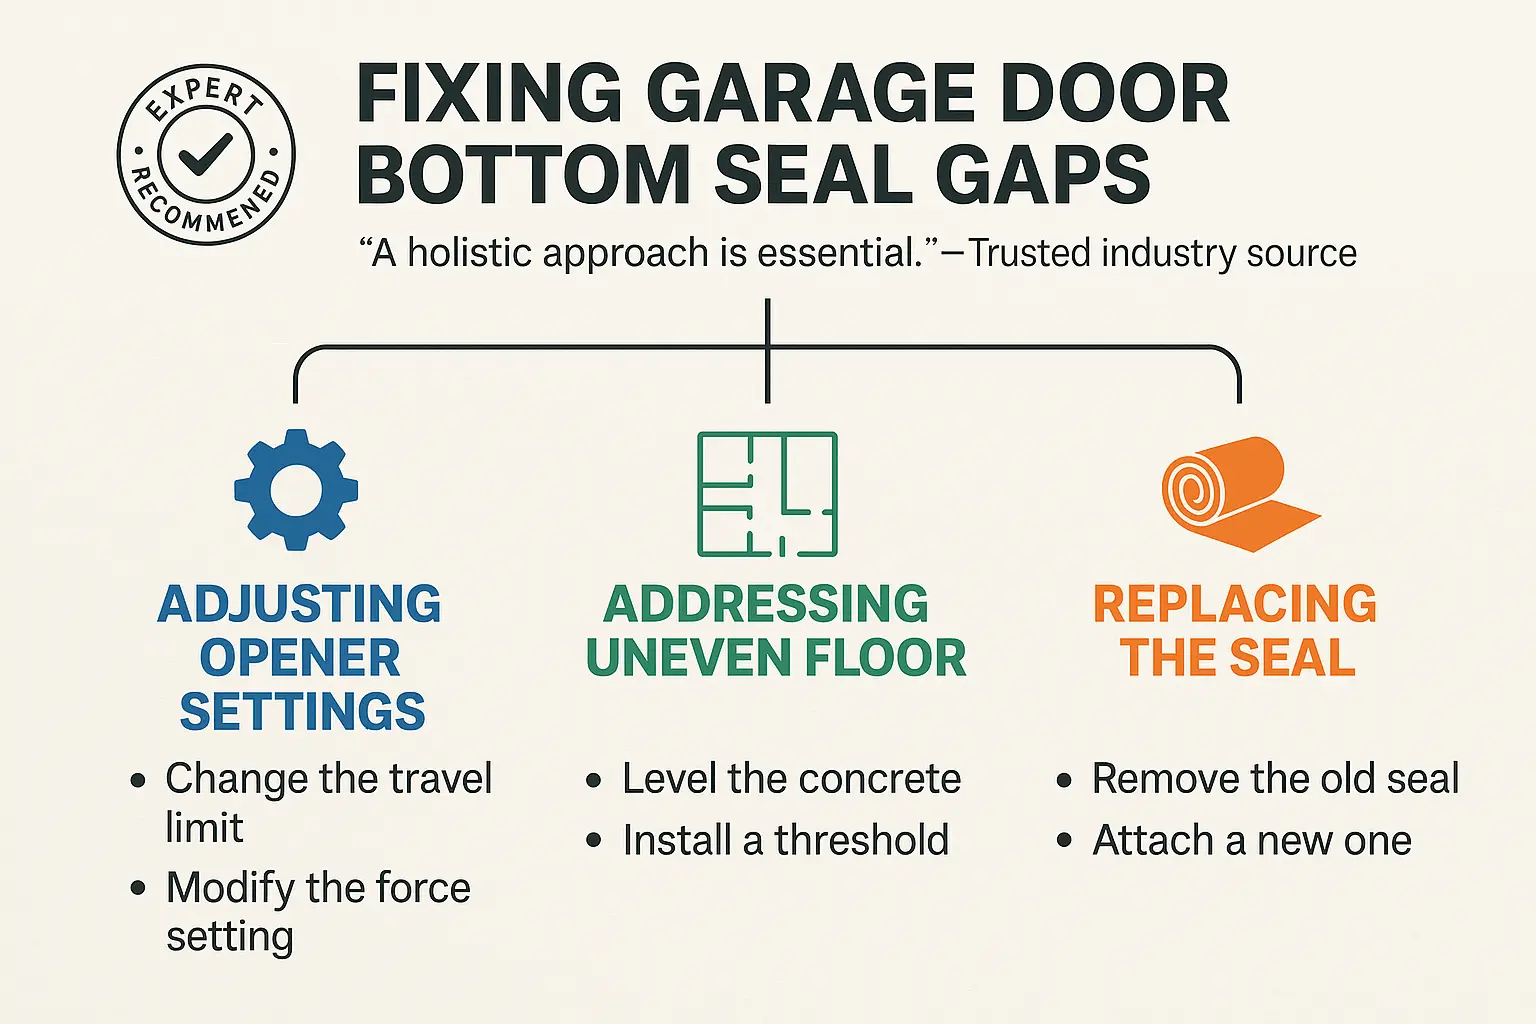
A gap under your door lets in everything you want to keep out — drafts, water, dust, and pests — and quietly undermines your garage’s energy efficiency. But before you blame the seal, remember it’s part of a larger system. Let’s investigate the three main culprits.
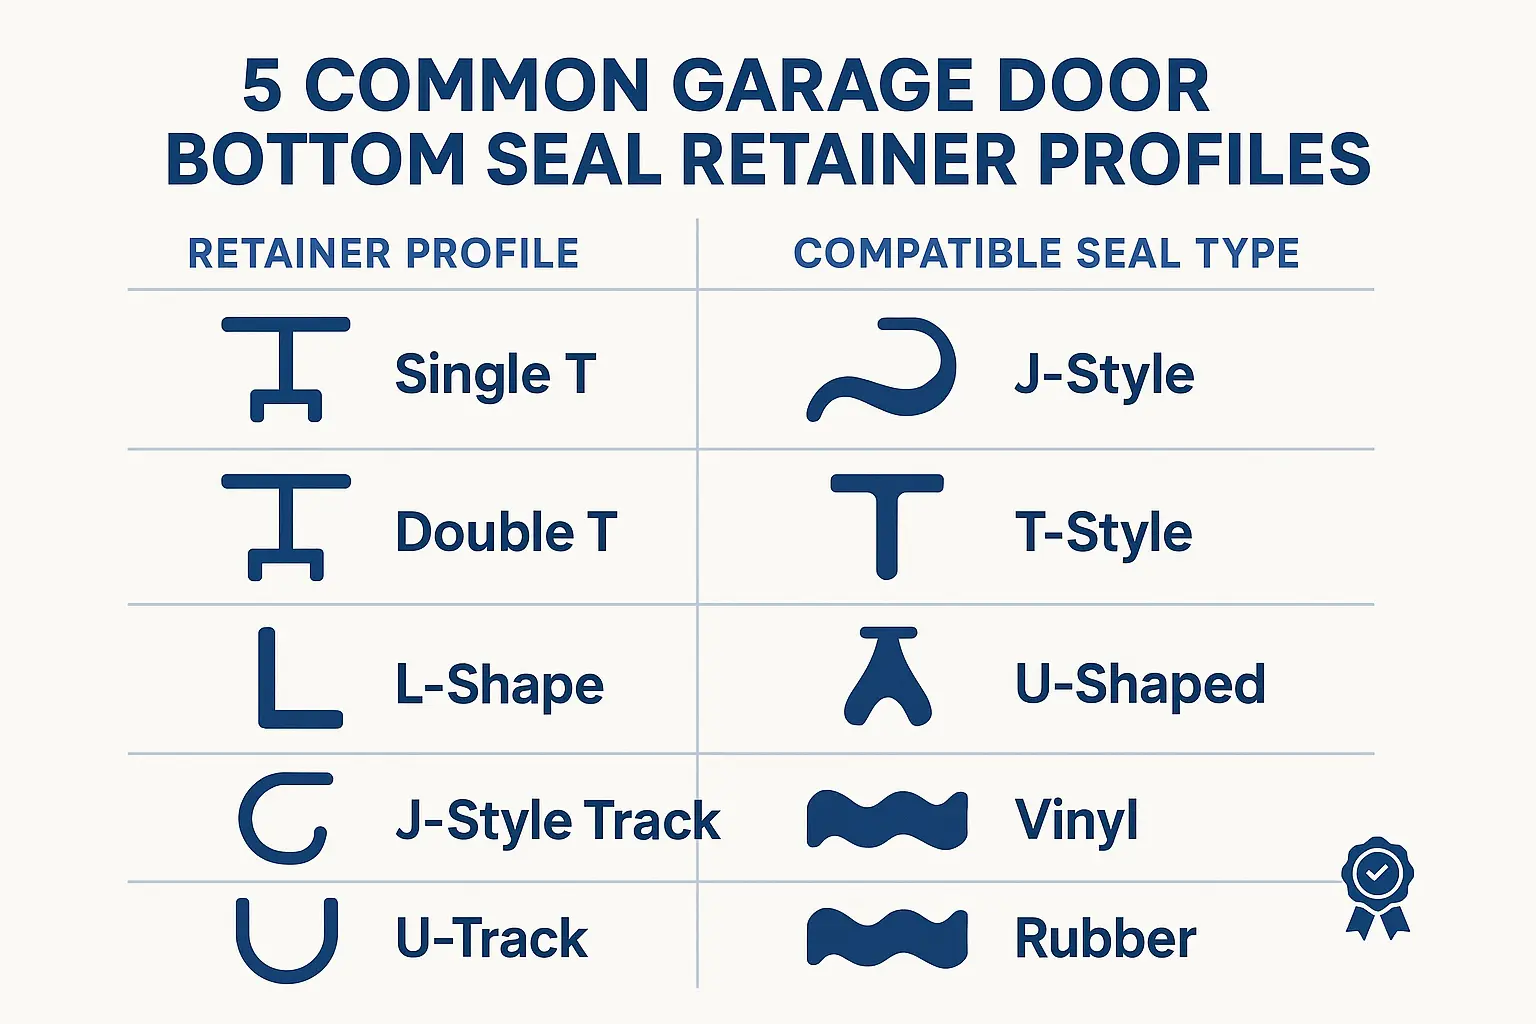
1. The Seal is Worn, Brittle, or Flattened: Over time, seals lose their flexibility. If yours is cracked, hardened, or compressed flat, it’s no longer doing its job. This is the most straightforward fix: replace it with a new one that matches your retainer type.
2. The Garage Floor is Uneven: This is incredibly common. If your concrete has settled, cracked, or heaved, you may see a gap on one side of the door while the other side seals tightly. An uneven gap like this can also point to a door that’s begun to sag or fall out of alignment.
3. The Opener’s “Close Limit” is Set Too High: Your garage door opener is programmed to stop at a specific point — a travel limit that’s dialed in when the opener is installed. If this “close limit” setting is off, the door may stop just short of pressing firmly against the floor, leaving a gap even with a perfectly good seal.
Replacing Torn or Brittle Seals
If your seal is physically damaged, replacement is your best bet.
1. Remove the Old Seal: With the garage door partially open (so you can comfortably reach the bottom), use pliers to pinch one end of the old seal and slide it out of the retainer track.
– Warning: If the seal is old and brittle, it may be stuck. Spraying a silicone lubricant into the retainer channels helps it slide out far more easily and keeps it from tearing.
2. Clean the Retainer: Once the old seal is out, use a cloth with a degreaser or all-purpose cleaner to thoroughly clean the inside of the retainer tracks. Any leftover dirt or grit will make installing the new seal difficult.
3. Install the New Seal: This is often a two-person job. One person feeds the new seal into the channels while the other pulls it along from the opposite side. Again, a light spray of silicone lubricant makes the process dramatically easier.
4. Trim and Secure: Once the seal is fully inserted, trim any excess with a utility knife. Some people like to crimp the ends of the retainer track slightly with pliers, or insert a screw, to keep the new seal from sliding side to side. This simple replacement is a core part of effective garage door weather stripping.
Solving a Freezing Seal
Waking up to a garage door that’s frozen shut is a major headache. The motor strains, the door may open unevenly, and you can easily tear the bottom seal trying to force it.
• The Quick Fix (How to Unfreeze It Safely):
– Never use brute force. Don’t keep hitting the opener button — this can damage the opener motor or even throw the door off its tracks.
– Use gentle heat. A heat gun on a low setting or a hairdryer can slowly warm the area where the seal is frozen to the ground.
– Carefully chip away ice. If there’s significant buildup, use a plastic ice scraper (never metal) to gently break it away. Once the seal is free, wipe it and the floor dry.
• The Long-Term Prevention (The Silicone Spray Trick):
– This is the best-kept secret for preventing freeze-ups. Once your seal and the concrete beneath it are clean and completely dry, apply a generous coat of silicone spray lubricant directly onto the rubber or vinyl seal.
– Silicone creates a water-repellent barrier that keeps moisture from sitting between the seal and the ground, which is what lets ice form. Reapply it a few times throughout the winter, especially before a forecast of freezing rain. This is a key tip for handling common winter garage door problems like freezing tracks, brittle springs, and stuck bottom seals.