If your garage door isn’t closing all the way, stops short, or reverses for no reason, it might just need a quick adjustment. If you’re not sure how to adjust a garage door opener, don’t worry — you’re in the right place. 24H Garage Doors is here with a simple explanation of how to check and adjust the travel limits, force settings, and safety sensors for a smoother operation.
How Do You Adjust a Garage Door Opener: Tuning Travel, Force & Sensors
Published: Aug 6, 2025 | Updated: Jul 28, 2026
Set the Travel Limits
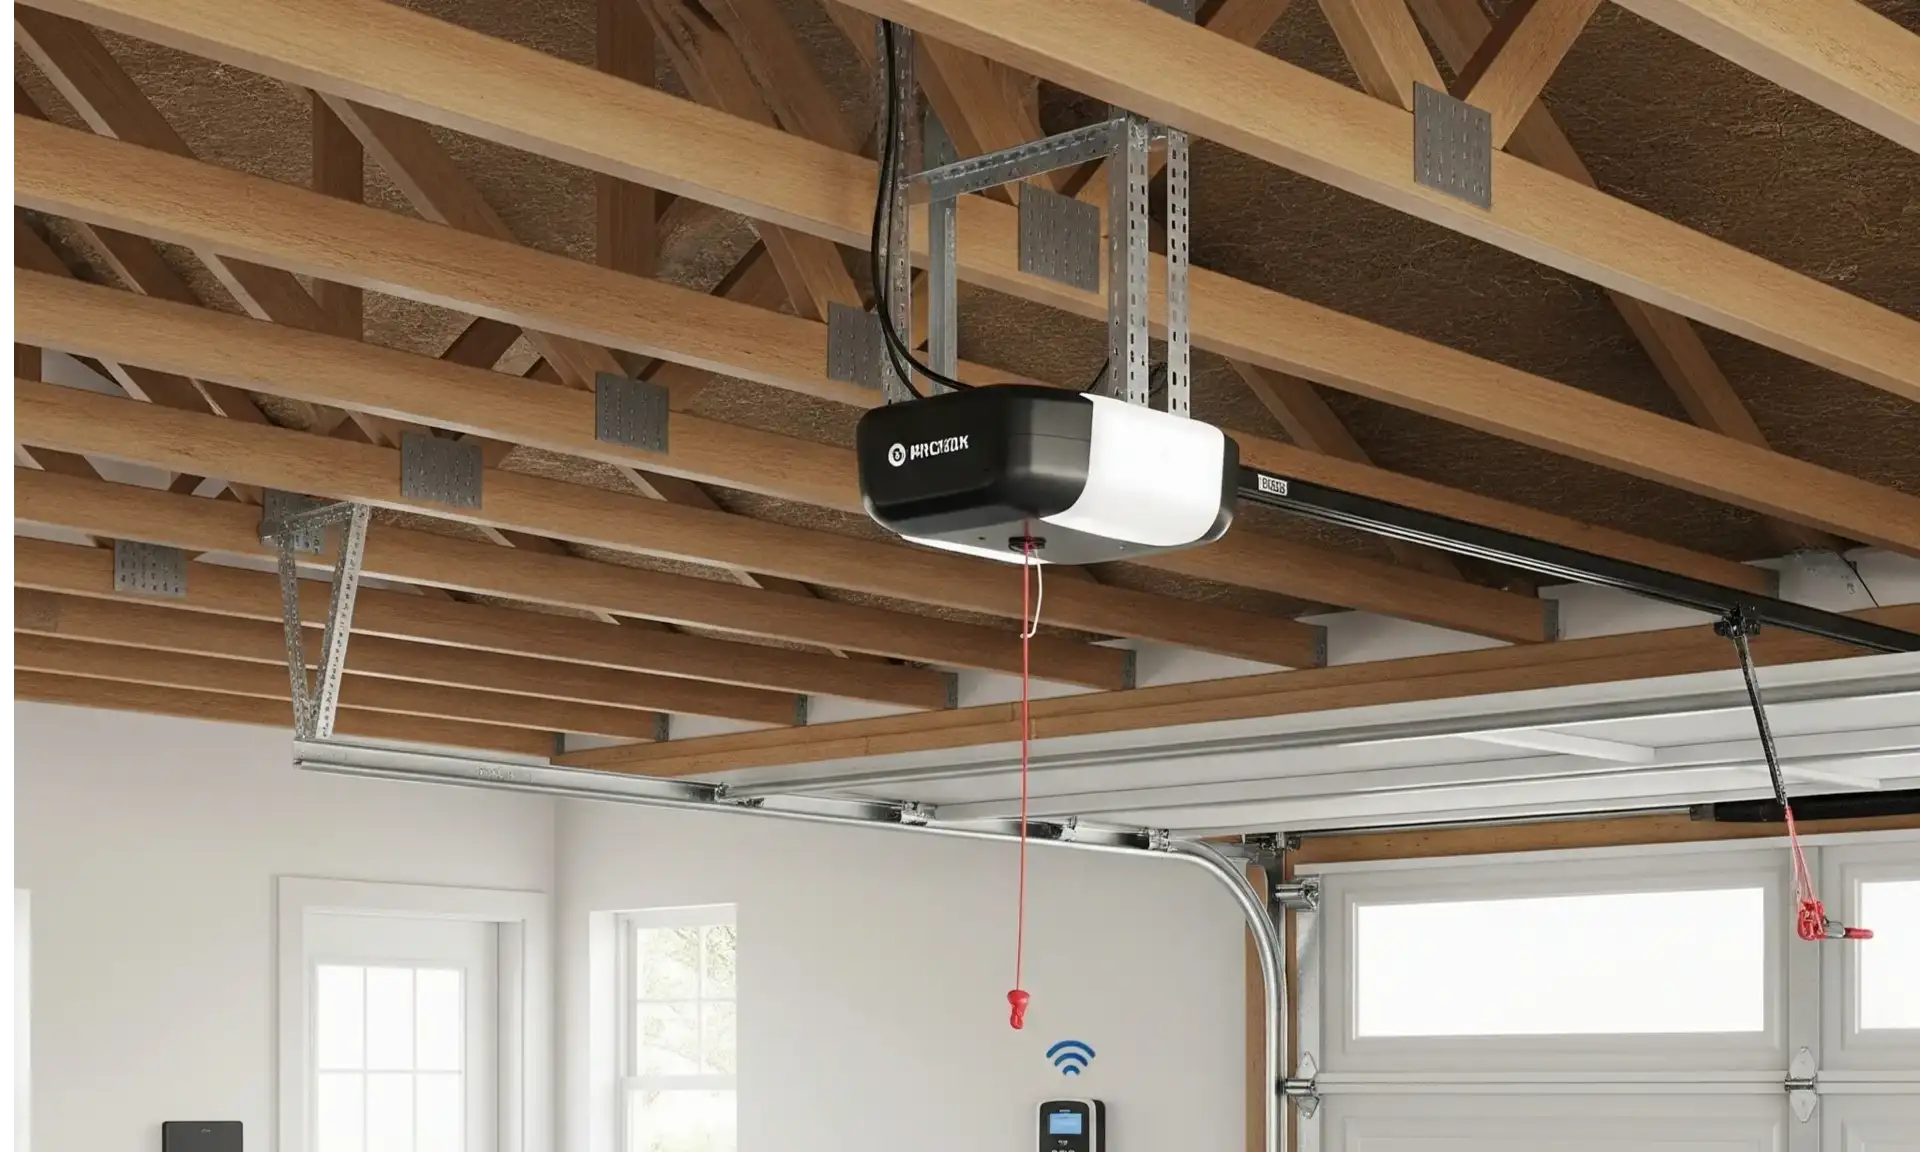
Travel limits control how far your garage door moves when opening or closing. If it stops too early or won’t shut all the way, a few small tweaks can usually fix it. Just be sure to unplug the opener or cut the power first — safety is always the top priority.
Most garage door openers have the adjustment screws labeled “up” and “down,” but always check your model’s manual if you’re unsure. If the door still doesn’t close completely after adjustments, it might be a sign of a warped track or a worn-out seal.
Getting the door to close flush with the floor not only looks right — it can also keep out drafts, dust, and pests. Adjusting the travel is a good first step if you’re working on how to level a garage door.
Getting the door to close flush with the floor not only looks right — it can also keep out drafts, dust, and pests. Adjusting the travel is a good first step if you’re working on how to level a garage door.
Adjust the Force Settings
Force settings control how much power your opener uses to move the door. If the door stalls or reverses for no clear reason, the force may need adjustment.
Force settings adjust how hard your opener pushes or pulls the garage door. If the force is too low, the door might not open or close all the way. If it’s too high, it can be unsafe — especially around kids or pets. So it’s important not to overdo it.
Align the Safety Sensors
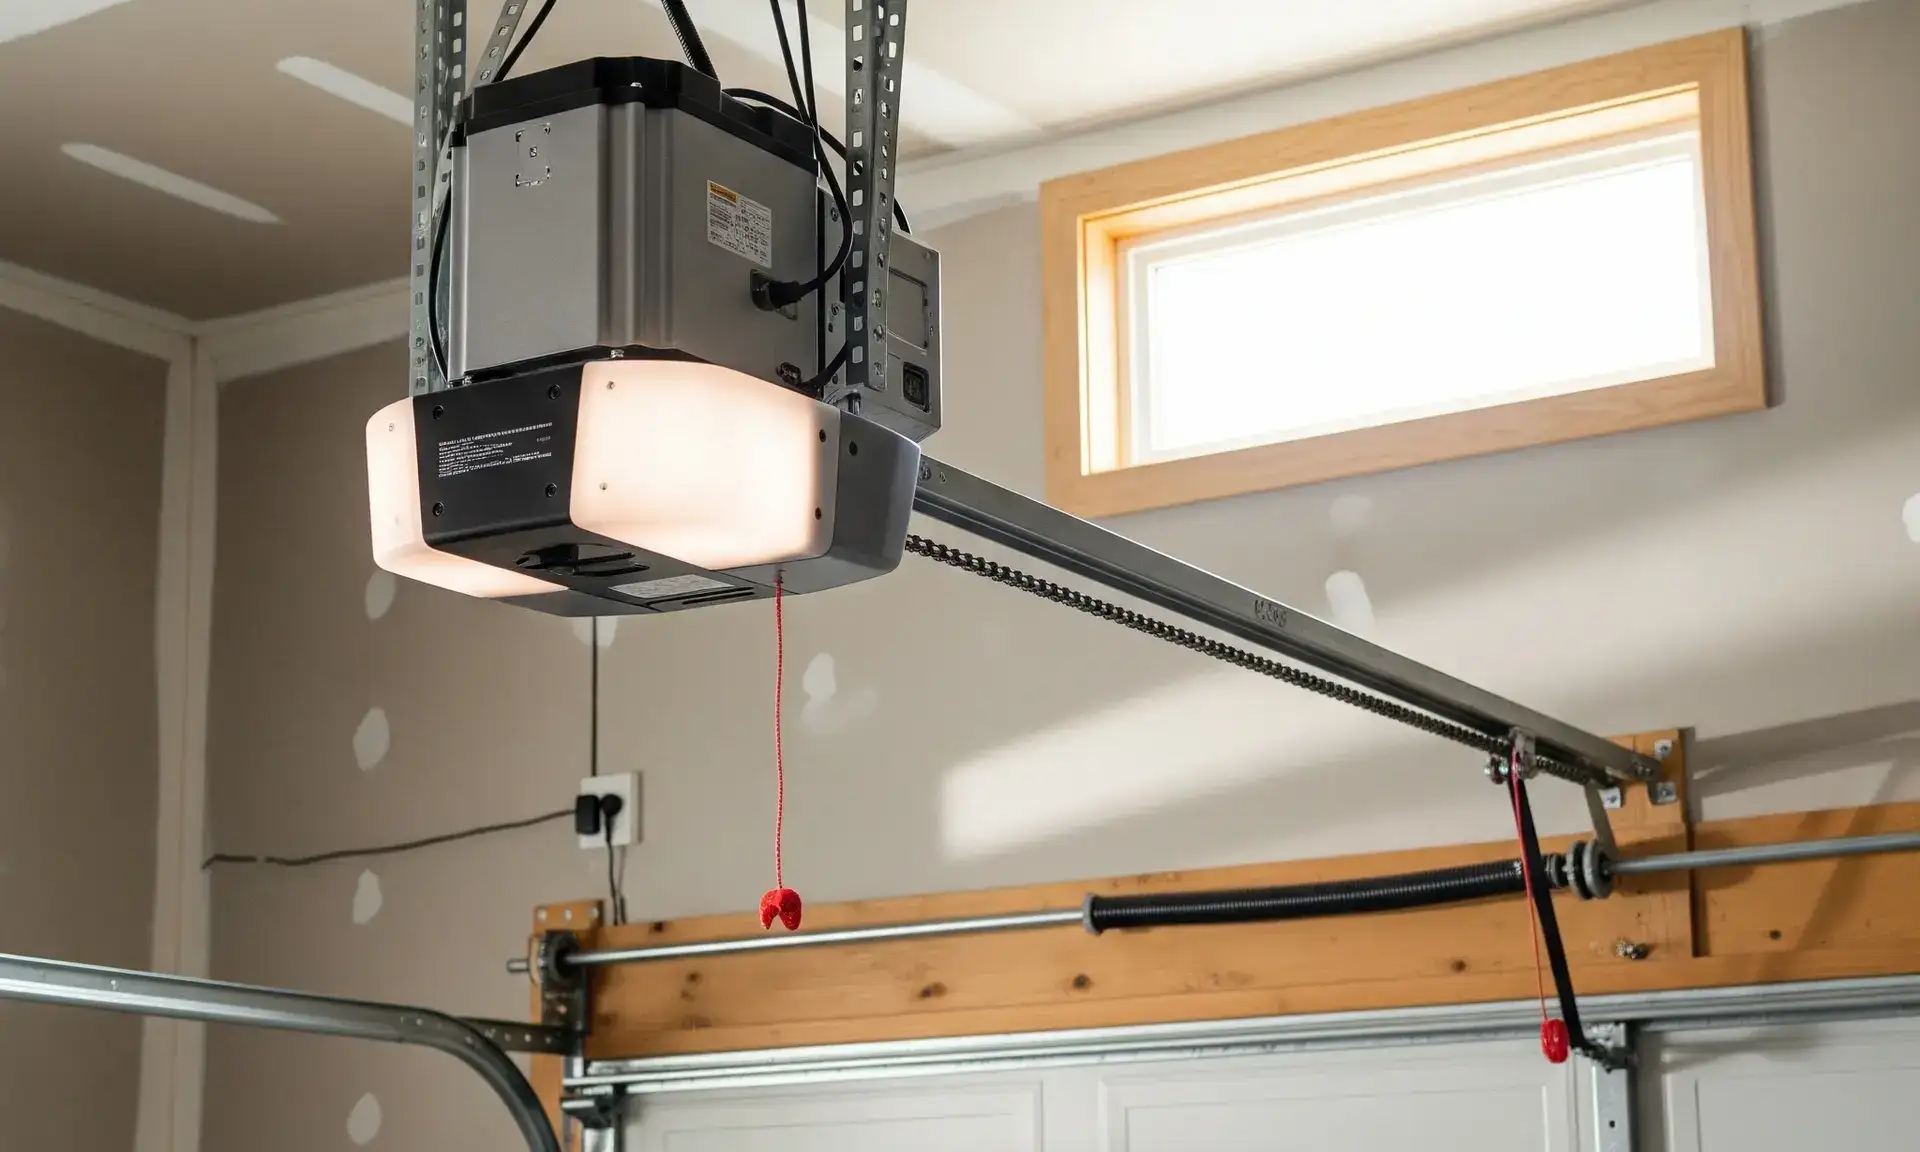
Every modern garage door opener includes safety sensors near the bottom of the tracks. These sensors help prevent the door from closing when something is in the way. When they’re out of alignment — which can easily be caused by bumps, vibrations, or dirt — the door might not close at all.
Proper sensor alignment isn’t just a technical detail — it’s a safety must-have. If the sensors continue to malfunction, it might be time for a garage door opener repair.
Summing Up
Now that you know how to adjust a garage door opener — from setting travel limits to adjusting force settings and aligning sensors — you can handle most minor issues yourself. These simple fixes can often prevent the need for a full repair visit.
If your garage door chains are noisy or sagging, don’t miss our step-by-step guide on how to adjust a garage door chain.
Not sure where to start? Reach out to 24H Garage Doors. We’re available day and night to keep your garage door running the way it should — safely, smoothly, and reliably.
If your garage door chains are noisy or sagging, don’t miss our step-by-step guide on how to adjust a garage door chain.
Not sure where to start? Reach out to 24H Garage Doors. We’re available day and night to keep your garage door running the way it should — safely, smoothly, and reliably.
Frequently Asked Questions
My garage door stops short and won't shut all the way. What should I check first?
The travel limits control how far your door moves when opening or closing, so if it stops too early or won't close completely, adjusting them is a good first step. Locate the travel adjustment screws on the opener unit, which are usually labeled "up" and "down," and turn them slightly with a flathead screwdriver. Test the door after each small adjustment so you don't overdo it. If the door still won't close flush after adjusting, it could be a sign of a warped track or a worn-out seal.
Is there anything I should do before I start adjusting the opener?
Yes, safety comes first. Be sure to unplug the opener or cut the power before you begin making adjustments. It's also a good idea to check your specific model's manual if you're unsure about which screws or dials to use.
Why does my door reverse or stall for no clear reason?
This can happen when the force settings need adjustment, since they control how much power the opener uses to move the door. If the force is too low the door might not open or close all the way, but if it's too high it can be unsafe around kids or pets. Slightly increase or decrease the setting while testing, aiming for smooth operation that still reverses if something blocks the door's path.
How do I know if my safety sensors are aligned properly?
Make sure both sensors near the bottom of the tracks are facing each other and set at the same height, then wipe the lenses clean with a cloth. Check the indicator lights afterward, since a solid green or amber light usually means they are working, while blinking typically signals a problem. Bumps, vibrations, or dirt can easily knock them out of alignment, which may stop the door from closing at all.