If you’re hearing beeping from the opener, seeing a flashing red light, or your garage door won’t open during a power outage, the problem might be the backup battery. Before you call for garage door repair services, try replacing it. Whether you’re a homeowner or manage a business, 24H Garage Doors is here to show you how to change the battery in a garage door opener.
How to Change a Battery in a Garage Door Opener: Quick DIY Guide
Published: Jul 11, 2025 | Updated: Jul 28, 2026
Tools and Materials You'll Need
As with any DIY task, it helps to know what tools you’ll need ahead of time. Changing the battery in a garage door opener doesn’t require much. Since the opener is mounted on the ceiling, start with a sturdy ladder. You’ll also need a Phillips-head screwdriver to remove the cover.
The most important item is the replacement battery. Most models use a 12V 5Ah battery — but always double-check your manual. Not sure which one to get? Give 24H Garage Doors a call, and we’ll help you find the right battery or handle the replacement for you.
The most important item is the replacement battery. Most models use a 12V 5Ah battery — but always double-check your manual. Not sure which one to get? Give 24H Garage Doors a call, and we’ll help you find the right battery or handle the replacement for you.
Step-by-Step: How to Change the Battery in the Garage Door Opener
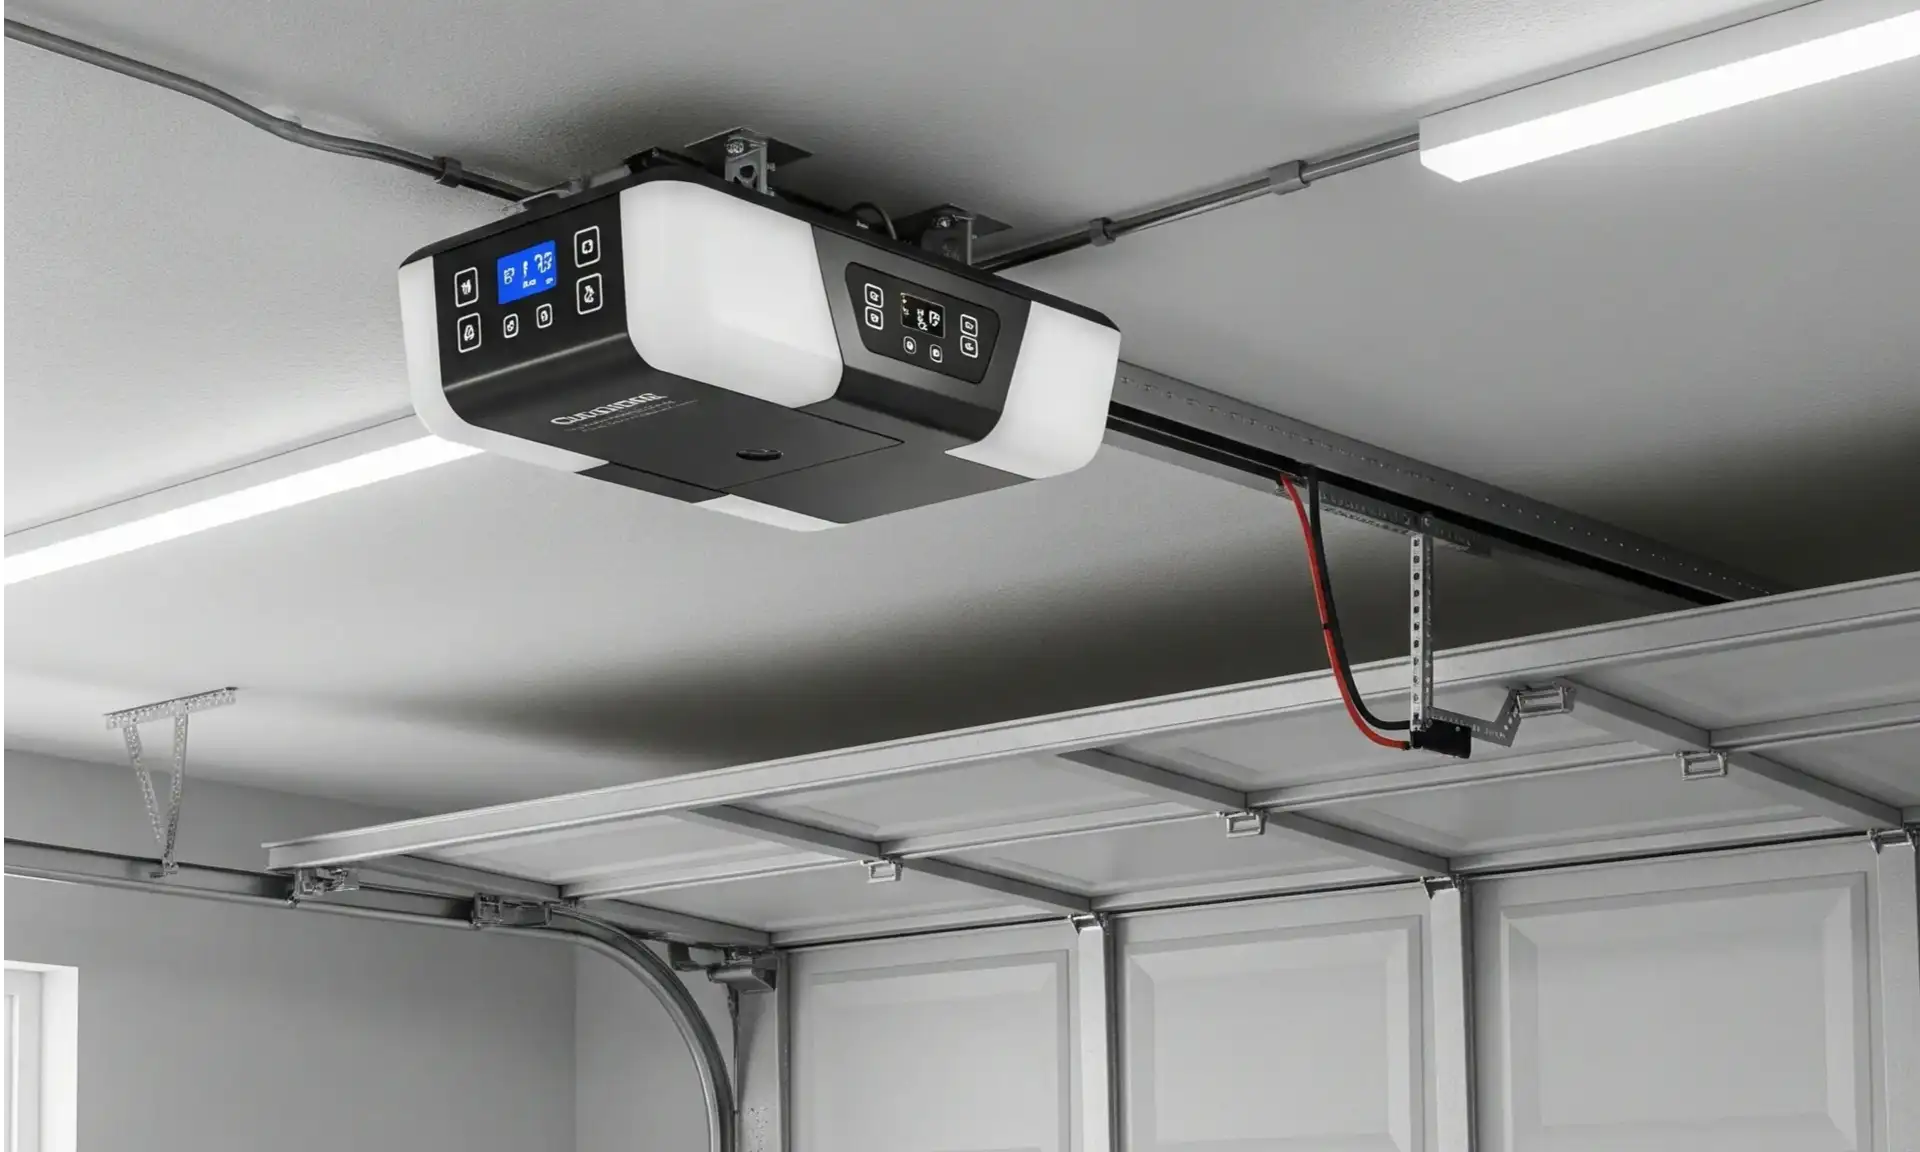
Even if it’s your first time doing this, don’t worry — most garage door openers are designed to make battery replacement simple. Follow these step-by-step instructions to learn exactly how to replace a battery in a garage door opener in just a few minutes.
How to Remove the Battery from a Garage Door Opener
Let’s start with safety. Unplug your garage door opener from the outlet so you’re working with a powered-down unit. Grab a sturdy ladder and climb up to the motor — you’ll usually find the battery compartment on the back or side. Use a Phillips-head screwdriver if the battery compartment has a cover. Once you’re in, disconnect the red and black wires, then gently lift out the old garage door opener battery.
How to Replace a Battery in a Garage Door Opener
Slide the new battery into the compartment, making sure the wires match up — red to red, black to black. Make sure it fits securely into place.
Reassemble and Test Your Opener
Close the cover, tighten the screws, and plug the opener back in. Once powered, you should hear the beeping stop and see the light turn green — that’s your sign that everything’s working as it should.
What If Changing the Battery Doesn’t Work?
So, you replaced the internal battery — but the opener still won’t respond. What should you do next? First, check the keypad. If it runs on batteries, that could be the issue. Check out our guide on how to change the battery in the garage door opener keypad.
If that doesn’t fix it, the problem might be something more serious — faulty wiring or a worn-out motor. In that case, it’s a good idea to get help from a qualified technician. Reach out to 24H Garage Doors to schedule a fast, reliable repair — we’re available 24/7.
If that doesn’t fix it, the problem might be something more serious — faulty wiring or a worn-out motor. In that case, it’s a good idea to get help from a qualified technician. Reach out to 24H Garage Doors to schedule a fast, reliable repair — we’re available 24/7.
Summing Up
A garage door opener might seem complicated, but changing the battery is one of the easiest fixes you can do yourself. With just a few simple steps — unplugging the unit, swapping in a new battery, and testing it — you now know exactly how to change the battery on the garage door opener without needing a service call.
To keep your opener running smoothly, check the battery once or twice a year and keep the compartment clean. These small steps help prevent future issues and ensure your system stays reliable. If something still isn’t working, 24H Garage Doors is always here with support you can count on.
To keep your opener running smoothly, check the battery once or twice a year and keep the compartment clean. These small steps help prevent future issues and ensure your system stays reliable. If something still isn’t working, 24H Garage Doors is always here with support you can count on.
Frequently Asked Questions
How do I know if my garage door opener's backup battery needs to be replaced?
Common signs include hearing beeping from the opener, seeing a flashing red light, or having the door fail to open during a power outage. If you notice any of these, try replacing the backup battery before calling for repair. Once the new battery is working, the beeping should stop and the light should turn green.
What tools and battery do I need to swap out the opener battery myself?
You'll need a sturdy ladder to reach the ceiling-mounted opener and a Phillips-head screwdriver to remove the cover. The most important item is the replacement battery, and most models use a 12V 5Ah battery, though you should always double-check your manual. If you're unsure which battery to get, you can call for help identifying the right one.
What's the safe way to remove the old battery from the opener?
Start by unplugging the garage door opener from the outlet so you're working with a powered-down unit. Climb up to the motor, where the battery compartment is usually found on the back or side, and use a Phillips-head screwdriver if there's a cover. Then disconnect the red and black wires and gently lift out the old battery.
What should I do if replacing the battery doesn't fix the opener?
If the opener still won't respond, first check the keypad, since it may run on its own battery that needs changing. If that isn't the problem, the issue could be something more serious like faulty wiring or a worn-out motor, which is best handled by a qualified technician. To help prevent future issues, check the battery once or twice a year and keep the compartment clean.