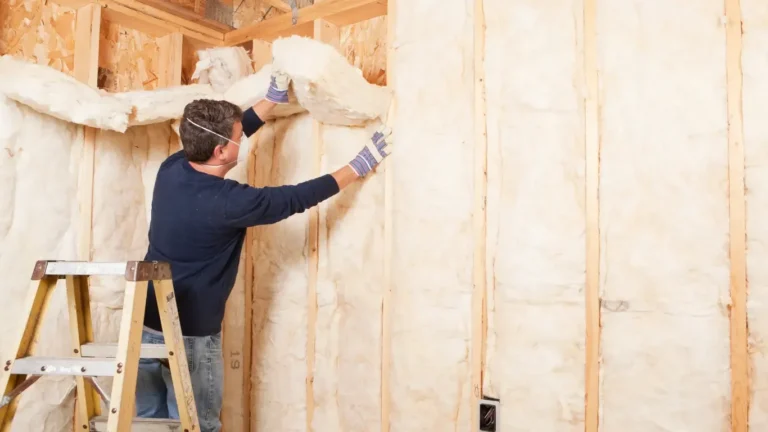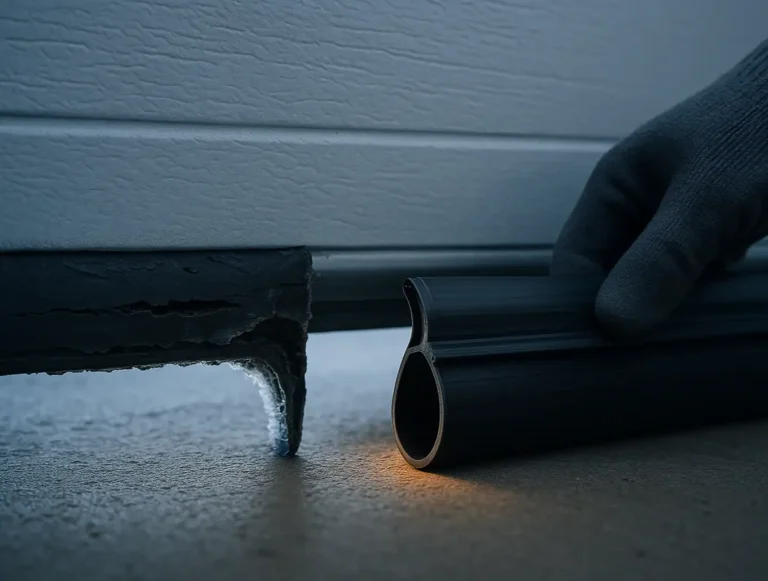
Want to keep your garage warm in winter and free of pests all year? The secret to a cozier, pest-free garage is weather stripping. This simple fix blocks cold air, moisture, and pests while improving insulation and lowering energy costs. While installing weather stripping may seem complicated, with the right tools and clear instructions, you can easily handle it on your own.
In this article, we’ll explain everything from choosing the right weather stripping to completing the installation step by step. However, if you do not feel confident with DIY projects, 24H Garage Doors is just a call away to handle it for you.
Let’s get started and transform your garage today!
DIY Garage Door Weather Stripping Installation: Keep Out Cold Air and Pests
Published: Dec 20, 2024 | Updated: Jul 28, 2026
Benefits of Weather Stripping Your Garage Door
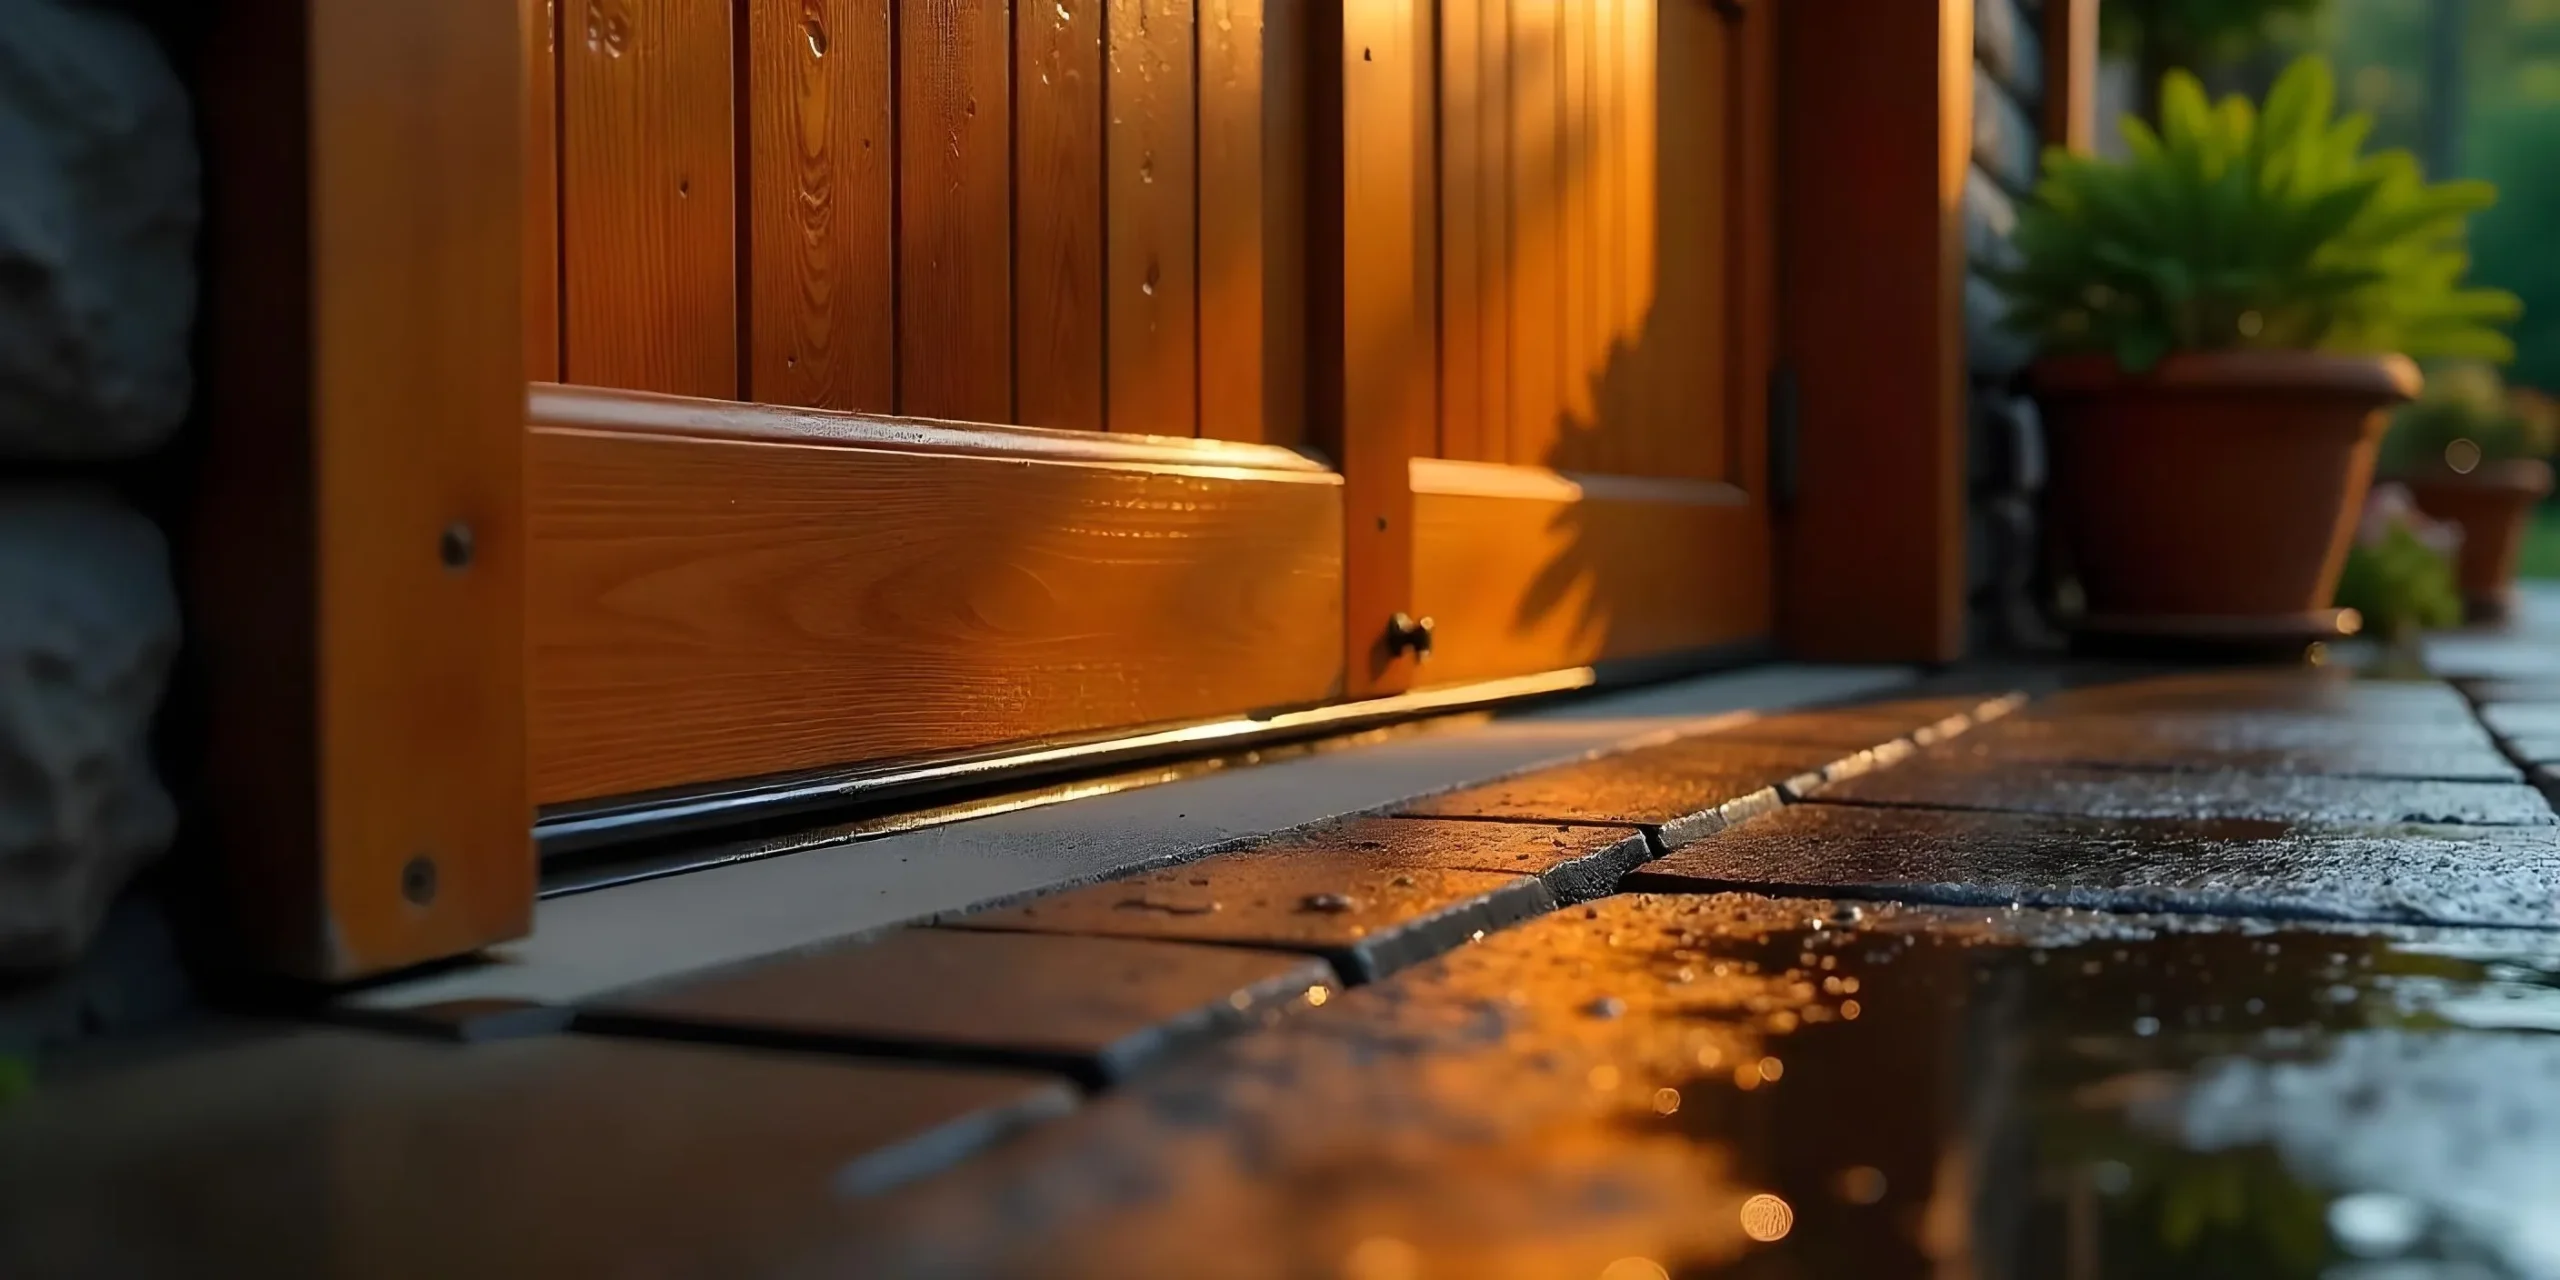
Garage door weather stripping provides numerous benefits, and understanding them can inspire you to take action. Here’s why weather stripping could be a wise investment for your property:
Choosing the Right Weather Stripping

Selecting the right weather stripping can make a big difference in keeping your garage comfortable and protected. Each type serves a specific purpose, so understanding your options will help you make the right choice. Here’s a quick overview of the most common types:
Choosing the right weather stripping depends on your garage door type, climate, and specific needs. For colder areas, bottom and side seals provide excellent insulation, while threshold seals work best in rainy climates. For durability and reliable performance, choose materials like rubber or vinyl, which are flexible, weather-resistant, and built to last.
Step-by-Step Installation Guide
With just a few tools and some straightforward steps, you’ll have your garage sealed in no time. Here’s a detailed step-by-step guide to help you get the job done right:
Step 1: Gather Your Tools and Materials
Before starting, make sure you have everything you need for a smooth installation process, including:Tape Measure
Utility Knife or Scissors
Screwdriver
Replacement Weather Stripping
Step 1: Gather Your Tools and Materials
Before starting, make sure you have everything you need for a smooth installation process, including:
Step 2: Remove Old Weather Stripping
Start by carefully removing the existing weather stripping. If it’s secured with screws, use a screwdriver to loosen them. If it’s adhesive-based, gently peel it off to avoid damaging the door’s surface. Use a scraper to remove any leftover adhesive or debris. This step provides a clean base for the new weather stripping to stick properly.
Step 3: Ensure accurate cuts to prevent gaps or overlaps.
Measure the bottom, sides, and top of your garage door and cut the weather stripping to match these dimensions. Use a utility knife for precise cuts. If you’re working with pre-fitted channels for bottom seals, be sure the strip is cut to slide in easily without bunching or gaps.
Step 4: Attach the Weather Stripping
Bottom Seals: Insert the bottom seal into the retainer channel or secure it directly to the door with nails or screws, ensuring it sits flush with the surface.
Side and Top Seals:Align the weather stripping along the door’s edges, securing it in place with adhesive, screws, or nails. Take your time to make sure there are no gaps where air, moisture, or pests can sneak in.
Proper alignment is key to achieving a tight, effective seal.
Bottom Seals: Insert the bottom seal into the retainer channel or secure it directly to the door with nails or screws, ensuring it sits flush with the surface.
Side and Top Seals:Align the weather stripping along the door’s edges, securing it in place with adhesive, screws, or nails. Take your time to make sure there are no gaps where air, moisture, or pests can sneak in.
Proper alignment is key to achieving a tight, effective seal.
Step 5: Test Your Garage Door
Once the weather stripping is in place, test your garage door by opening and closing it several times. Check that the weather stripping creates a snug seal without hindering the door’s movement. Adjust any areas where the stripping may be too tight or loose.
Once the weather stripping is in place, test your garage door by opening and closing it several times. Check that the weather stripping creates a snug seal without hindering the door’s movement. Adjust any areas where the stripping may be too tight or loose.
Maintenance Tips for Long-Lasting Results
Weather stripping is a durable solution that can remain effective for years, but it requires proper maintenance. It’s recommended to check the seals every few months for cracks, gaps, or wear. This step helps catch issues early and address them immediately to keep the garage functioning properly. Regular cleaning is also important as it helps prevent dirt buildup and extends the material’s lifespan. Keep the moving parts of your garage door lubricated to reduce strain on the seals.
Unfortunately, even the best weather stripping wears out over time. If it becomes brittle, torn, or ineffective, it’s time for a replacement. You can try a DIY replacement using our comprehensive guide or leave the task to a professional for a seamless, worry-free result.
Unfortunately, even the best weather stripping wears out over time. If it becomes brittle, torn, or ineffective, it’s time for a replacement. You can try a DIY replacement using our comprehensive guide or leave the task to a professional for a seamless, worry-free result.
Conclusion
Weatherstripping is a simple yet effective way to enhance your garage’s comfort, energy efficiency, and overall protection. Whether you’re aiming to keep pests out, insulate your space, or reduce energy bills, installing weatherstripping is the perfect solution. By following the easy steps in this guide, you can achieve a snug, well-sealed garage with ease. However, if DIY isn’t an option or you’d prefer professional assistance, 24H Garage Doors is always ready to help. Your comfort and peace of mind are our priorities, and we’re here to support you every step of the way!
Frequently Asked Questions
How does weather stripping help lower my energy bills?
A well-sealed garage door keeps cold air out in winter and hot air out in summer, which helps maintain a steady temperature inside the garage. This reduces the workload on your heating and cooling systems, which in turn reduces your energy bills. If your garage is attached to your house, sealing the door also helps keep your home insulated.
Can weather stripping really keep pests out of my garage?
Yes, gaps around your garage door can let in pests like bugs, mice, or even snakes. Weather stripping blocks these gaps to keep pests out. It also protects against moisture from rain, snow, and humidity that can cause rust, mold, and damage to stored items.
How do I choose the right type of weather stripping?
The right choice depends on your garage door type, climate, and specific needs. For colder areas, bottom and side seals provide excellent insulation, while threshold seals work best in rainy climates. Each type serves a specific purpose, so understanding your options helps you make the right choice.
What material should garage door weather stripping be made of?
For durability and reliable performance, materials like rubber or vinyl are recommended because they are flexible, weather-resistant, and built to last. Choosing a long-lasting material helps ensure your seal holds up over time. The article notes that matching the material to your needs is part of selecting the right weather stripping.