When your garage door opener starts slowing down, gets noisy, or stops working altogether, it’s tempting to try a quick fix. However, in many cases, a full replacement is the smarter, longer-lasting solution. In this article, you’ll learn how to replace a garage door opener, what signs to look out for, and how to make sure it’s installed correctly.
How to Change a Garage Door Opener: Get a New One Installed Easily
Published: Jul 22, 2025 | Updated: Jul 28, 2026
When Should You Replace Your Garage Door Opener?
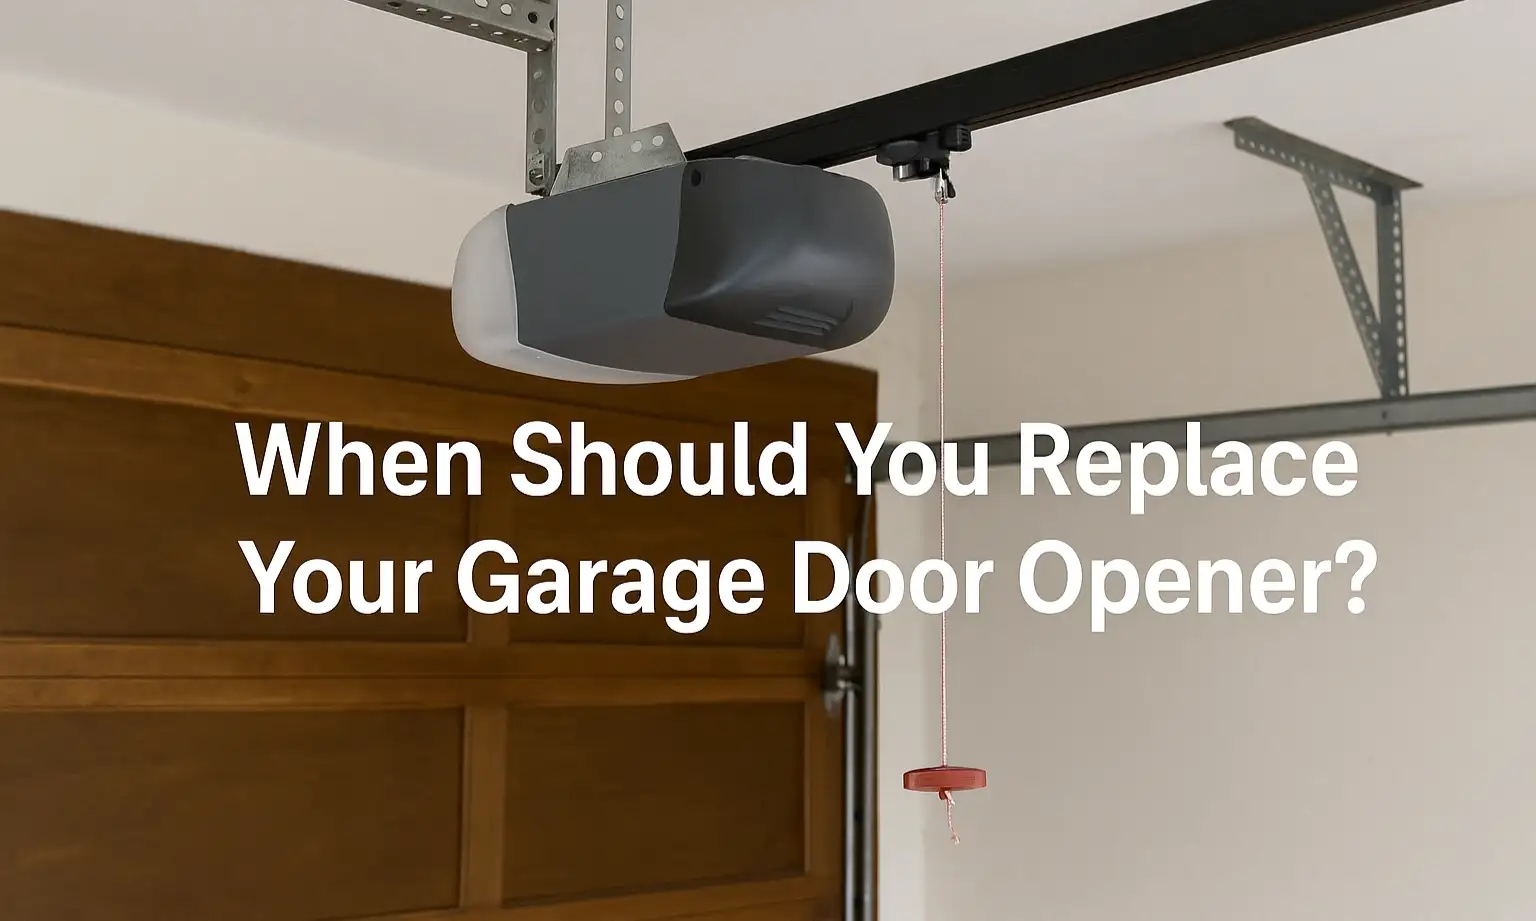
Over time, even the best garage door openers start to wear down. If yours is older than 10 to 15 years, it’s likely missing key safety features or modern, energy-saving technology. However, even newer models can run into trouble, especially if they weren’t installed correctly or have had frequent use. Here are a few signs it might be time to upgrade:
If you’ve noticed any of these issues, it’s a smart time to look into how to get a new garage door opener installed before it stops working unexpectedly.
Can You Replace a Garage Door Opener Yourself?
You might be wondering, “Can you replace a garage door opener on your own?” Technically, yes — especially if you’re handy and have the right tools. Most openers come with a detailed manual. That said, the job involves electrical wiring, ceiling mounts, and aligning heavy components, which can be challenging — and even unsafe — if something’s off.
For most homeowners, hiring a professional is the safer and easier option. 24H Garage Doors provides expert garage door opener installation so everything is properly installed, secured, and up to code. That way, you don’t have to worry about misalignment, wiring issues, or future breakdowns.
For most homeowners, hiring a professional is the safer and easier option. 24H Garage Doors provides expert garage door opener installation so everything is properly installed, secured, and up to code. That way, you don’t have to worry about misalignment, wiring issues, or future breakdowns.
Step-by-Step: How to Change a Garage Door Opener
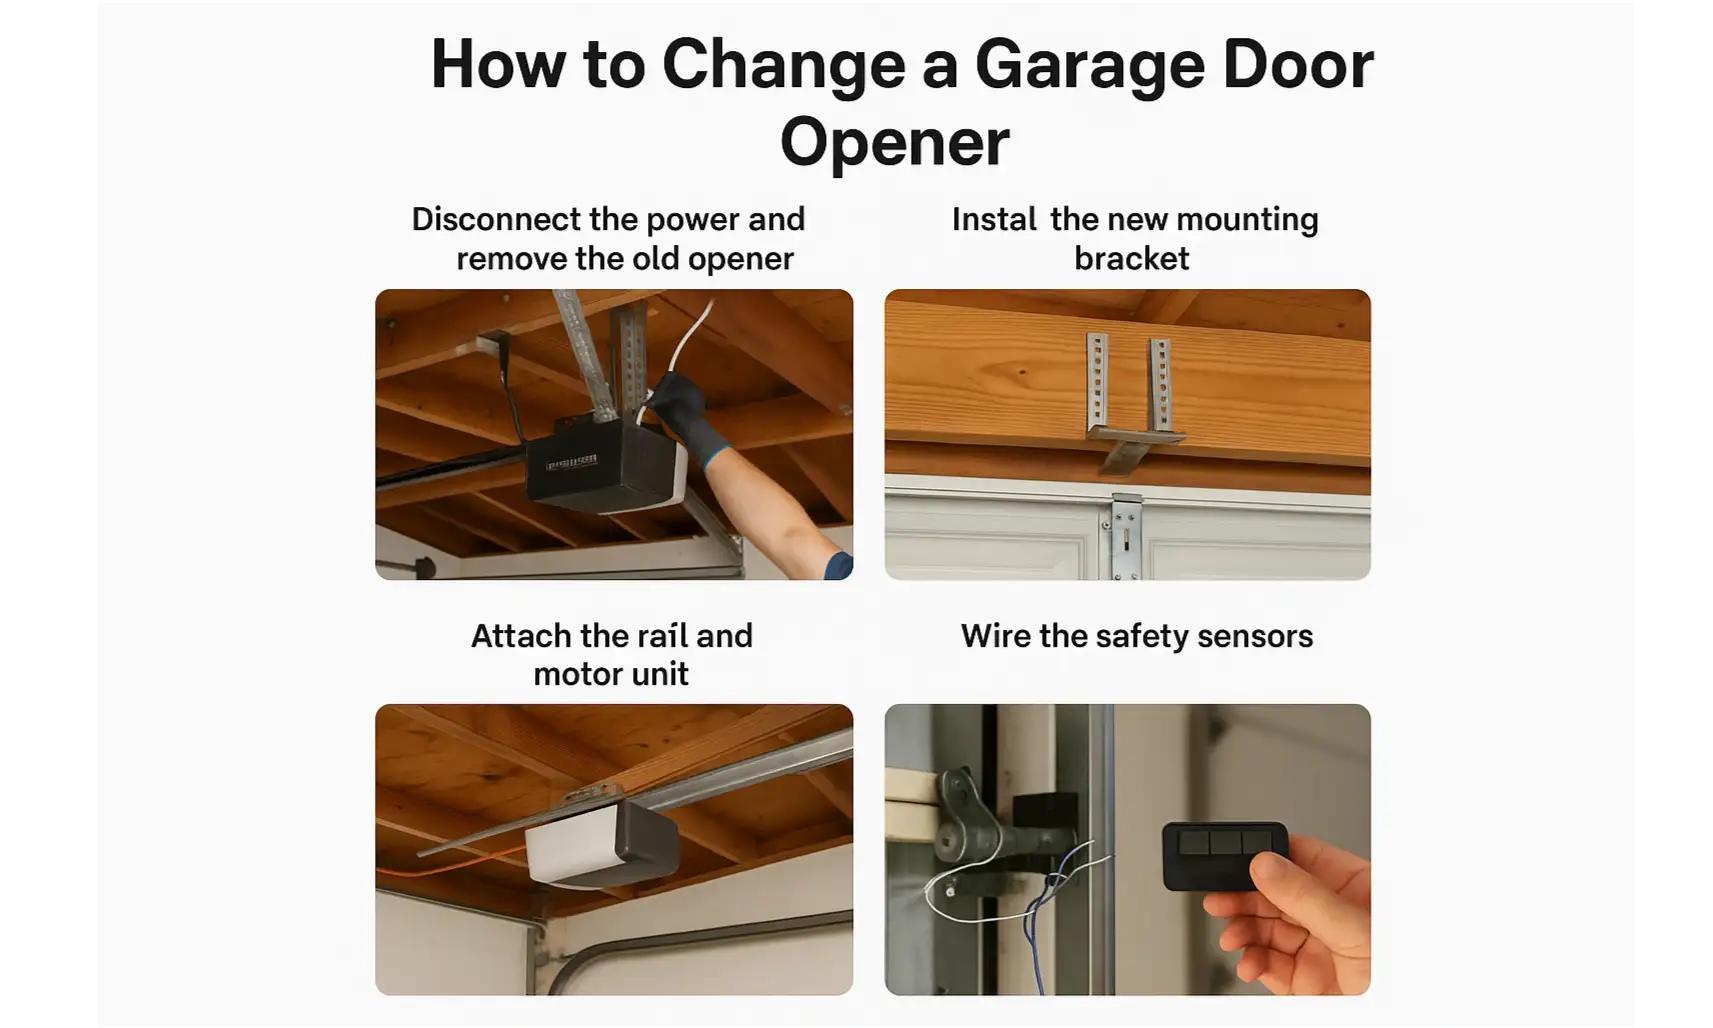
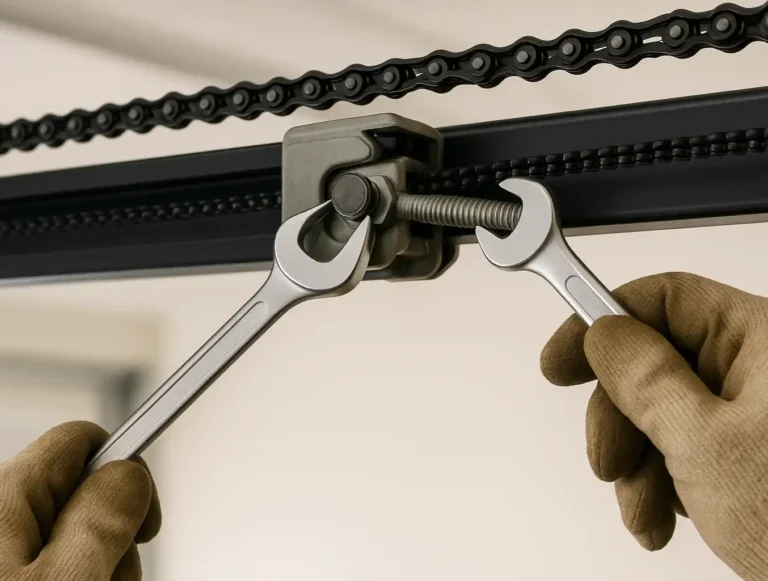
If you still want to do it yourself, here’s a simple high-level breakdown of how to replace a garage door opener:
How Hard Is It to Replace a Garage Door Opener?
If you have some DIY experience, replacing a garage door opener might seem doable. In reality, the process is a bit more complex. It involves electrical wiring, ceiling mounts, lifting heavy parts, and aligning everything properly. Even small mistakes can cause safety issues or long-term damage.
Before you start, it’s a good idea to understand how a garage door opener works. This gives you a clearer picture of what’s involved — especially if you’re upgrading to a newer or smart system.
If you’re feeling uncertain at any point, it’s usually safer to leave the job to a trained technician. 24H Garage Doors provides expert garage door opener installation, ensuring everything is set up correctly, tested thoroughly, and ready to run smoothly from day one.
Before you start, it’s a good idea to understand how a garage door opener works. This gives you a clearer picture of what’s involved — especially if you’re upgrading to a newer or smart system.
If you’re feeling uncertain at any point, it’s usually safer to leave the job to a trained technician. 24H Garage Doors provides expert garage door opener installation, ensuring everything is set up correctly, tested thoroughly, and ready to run smoothly from day one.
Frequently Asked Questions
How do I know it's time to replace my opener instead of repairing it?
If your opener is older than 10 to 15 years, it's likely missing key safety features or modern, energy-saving technology. Warning signs include being slow or unreliable, not responding consistently to remotes or wall switches, grinding or rattling noises during operation, and lacking newer features like smartphone control or rolling code security.
Can I install a new garage door opener on my own?
Technically yes, especially if you're handy and have the right tools, and most openers come with a detailed manual. That said, the job involves electrical wiring, ceiling mounts, and aligning heavy components, which can be challenging and even unsafe if something is off, so hiring a professional is the safer and easier option for most homeowners.
What are the main steps involved in swapping out an opener?
At a high level, you disconnect the power and remove the old opener, install the new mounting bracket, attach the rail and motor unit by connecting the belt or chain drive, wire the safety sensors, then program the remotes and test everything. The safety sensors help prevent the door from closing on people, pets, or objects in its path.
Should I reuse my old mounting bracket with the new opener?
No. Use the bracket that came with your new opener, because older brackets may not line up correctly or meet current safety standards.